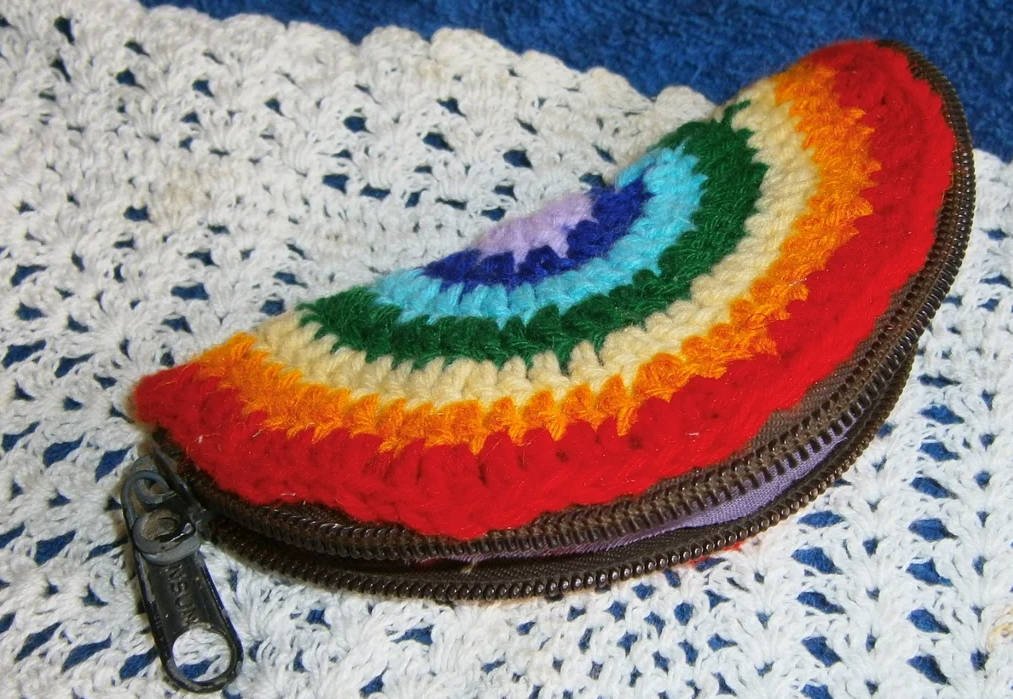
Looking for a fun and vibrant crochet project? This rainbow purse is the perfect beginner-friendly craft that’s both functional and cheerful.
With its bright colors and simple stitches, this purse adds a playful pop to any outfit—and it’s a great way to practice circular crochet techniques.
Why This Project Works

- Uses basic stitches suitable for beginners
- Great way to use up leftover yarn in rainbow colors
- Stylish, unique, and fun to carry
- Teaches you how to increase in the round
- Includes a practical zipper and fabric lining
What You Will Need

- Worsted weight yarn in red, orange, yellow, green, blue, indigo, and violet
- 4 mm crochet hook
- Yarn needle
- Scissors
- Zipper (slightly longer than purse opening)
- Small piece of fabric for lining
- Safety pins
Stitches Used:
- sl st – Slip stitch
- ch – Chain
- dc – Double crochet
Step 1: Begin With Purple

Start by crocheting a magic ring or ch 4 and join to form a ring with a sl st using violet yarn.

Then, ch 3 (this counts as your first dc), and work 11 dc into the center of the ring.
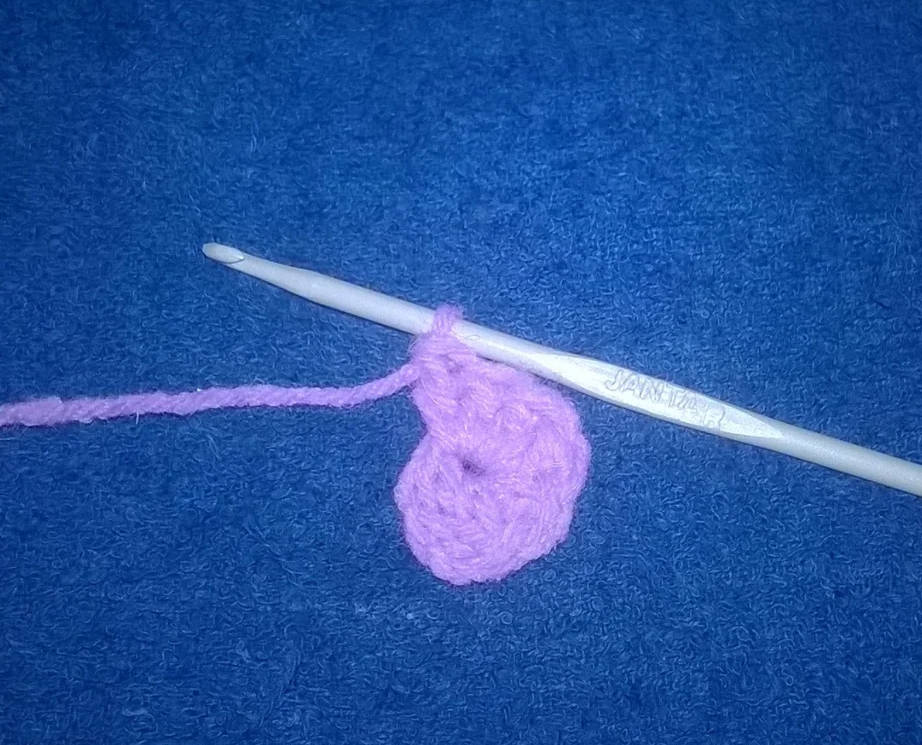
Join with a sl st to complete the round.

You should have 12 stitches total.
Step 2: Add Indigo Layer

Join the indigo yarn and ch 3. This counts as your first dc.

Work 1 dc in the same space, then work 2 dc in each stitch around. Join with a sl st. You now have 24 stitches.
Step 3: Continue With Blue

Join the blue yarn. Ch 3 and dc in the same stitch.

Then alternate 1 dc in the next stitch and 2 dc in the following.
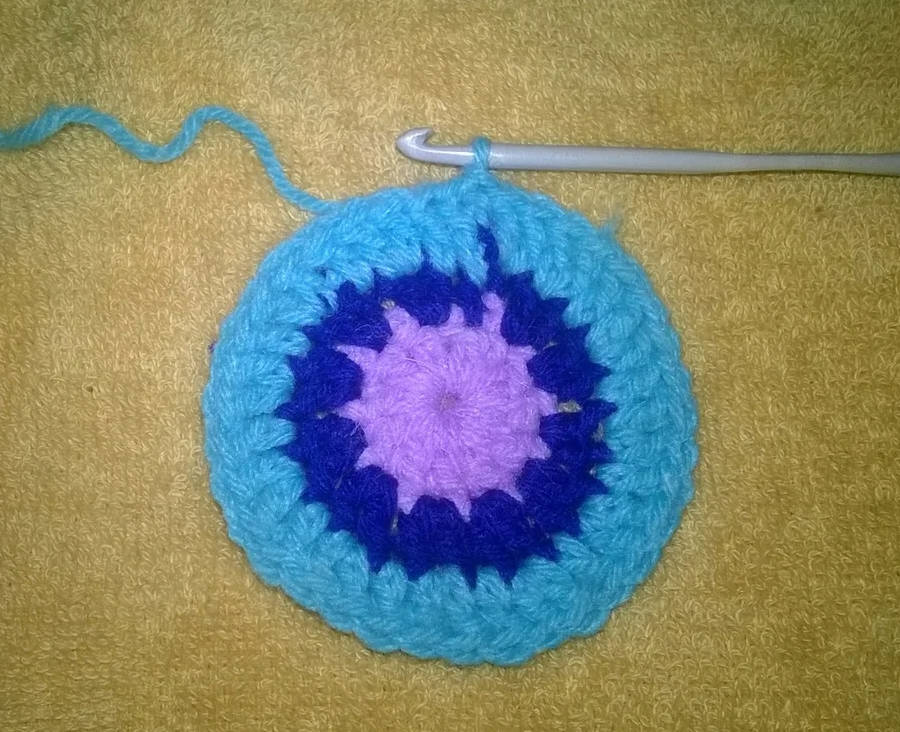
Repeat this pattern around the circle. End with a sl st to join.
Step 4: Crochet With Green

Attach the green yarn. Ch 3 and dc in the same stitch. Then work 1 dc in each of the next two stitches. Repeat the pattern: 2 dc in one stitch, then 1 dc in the next two.

Continue around and join with a sl st. You should now have 48 stitches.
Step 5: Add Yellow Round

Join the yellow yarn and ch 3. Dc in the same stitch, then work 1 dc in each of the next three stitches.

Continue with the sequence: 2 dc, dc, dc, dc all around. Finish with a sl st. Total stitches: 60.
Step 6: Crochet the Orange Layer

Switch to orange yarn. Ch 3 and dc in the same stitch, followed by 1 dc in the next four stitches.

Repeat the pattern: 2 dc in one stitch, then 4 single dc stitches. Join with a sl st.
Step 7: Finish With Red

Join the red yarn. Ch 3 and dc in the same stitch, then work 1 dc in each of the next five stitches. Continue: 2 dc in one stitch, then 5 single dc. Join to finish the circle.

Now fold the finished circle in half. This will form the base shape of your purse.
Note: Make sure to weave in the ends as you go or at the end of this section to avoid loose threads inside the purse.
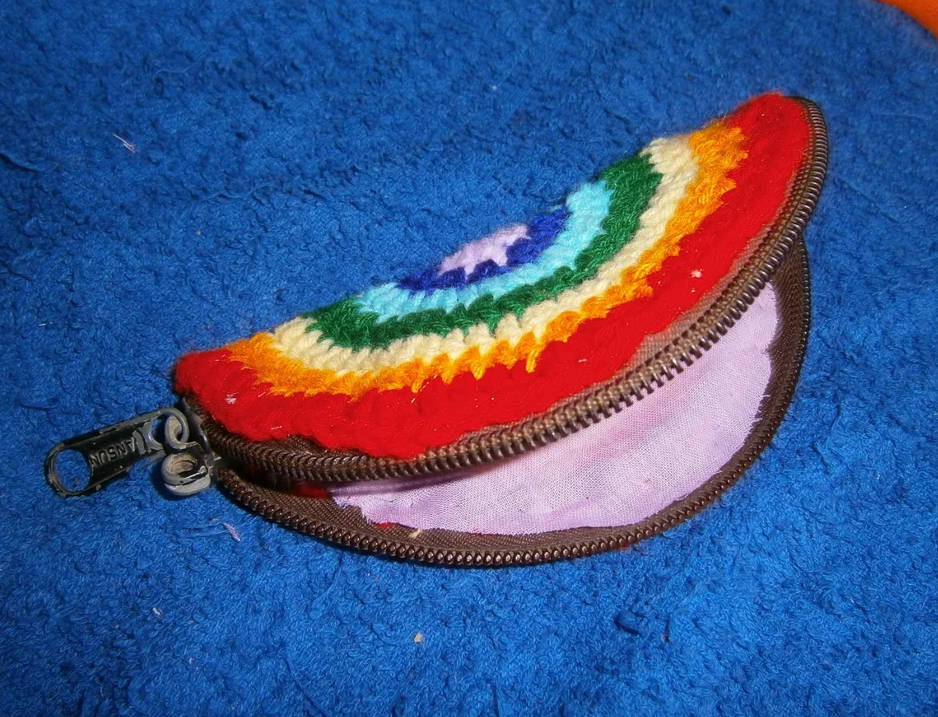
Other Details Display

- Use bright, saturated yarns for a vivid rainbow effect
- Each round adds one more stitch between increases
- The finished circle will be folded to create the semicircle purse shape
- A zipper adds functionality and polish
- Lining the purse improves durability and aesthetics
Step 8: Choose the Zipper

Select a zipper that’s slightly longer than the straight opening of your folded circle. This will ensure you can easily open and close your purse.
Step 9: Prep and Pin the Zipper

Secure each end of the zipper by stitching with yarn to prevent fraying. Then use safety pins to hold the zipper in place along the open edge of the folded circle.
Step 10: Hand Stitch the Zipper

Using your yarn needle, carefully hand stitch the zipper onto one side of the purse. Repeat for the other side. Make sure the stitches are tight but not overly rigid, so the zipper can open smoothly.
Step 11: Prepare the Fabric Lining

Cut out two semicircle pieces from a fabric scrap, matching the size of your purse when folded. You can use the folded crochet shape as a guide to trace the fabric.
Step 12: Sew Lining Together

Place the two fabric semicircles together with the right sides facing inward. Sew along the straight edge to form a pouch shape that matches your crochet purse.
Step 13: Attach the Lining
Insert the fabric lining into your crocheted purse, aligning the straight edge with the zipper opening. Start at one side and carefully hand stitch the lining to the zipper, working your way to the other side.
Note: Stitch slowly and evenly when attaching the lining to avoid puckering or gaps between the fabric and the crochet.
Summary
This rainbow crochet purse is a bright, beginner-friendly project that teaches the fundamentals of circular crochet while letting you create something fun and functional.
With colorful yarn, a zipper, and a bit of lining, you’ll have a vibrant little bag that’s sure to spark smiles and compliments.
This plan is a contribution by [Passion Make]. Project Via Instructables – Get the PDF Instructions here. If you have a plan to share, we welcome your submissions!