
Crocheting a classic mini doily is a wonderful way to create elegant home décor or building blocks for larger projects. This step-by-step guide will walk you through making a squared mini doily using simple crochet techniques. Whether you’re new to crochet or an experienced crafter, this pattern is a great way to refine your skills and produce something beautiful.
Why This Crochet Pattern Works
- Beginner-friendly yet intricate – A great pattern to practice foundational crochet stitches while creating something decorative.
- Customizable – Use different colors to personalize each doily to match your décor.
- Versatile – These mini doilies can be used as coasters, accents, or stitched together for larger projects like tablecloths.
- Blocking for perfection – Simple blocking techniques help give the doily its final crisp, squared-off shape.
What You Will Need

Supplies:
- Crochet thread in white and red (or colors of your choice)
- Cardboard and nails (for blocking)
Tools:
- 1.5mm crochet hook
- Scissors
- Needle
How to Make a Mini Doily
Step 1: Start with a Slipknot and Chain Foundation

Begin by making a slipknot on your crochet hook. If you’re unfamiliar with this step, many online resources provide visual guides.
- Chain four stitches.
- Form a foundational circle by slip stitching into the first chain.
- Slip stitch into the middle of the circle to create a more even round.
- Chain two to mimic the first double crochet stitch.
- Chain one more stitch.
- Double crochet into the center of the circle, then chain one. Repeat this step until you have a total of twelve double crochets, separated by chain stitches.
- End the round by slip stitching into the first double crochet.
Step 2: Creating Round Two

- Slip stitch twice – once into the first chain, then into the first chain space.
- Chain three to mimic a double crochet post.
- Double crochet into the same chain space, then chain one.
- Repeat: two double crochets in one chain space, followed by a chain stitch.
- Finish the round by slip stitching into the first chain.
Step 3: Transforming the Doily into a Square

- Slip stitch into the first chain, then into the following chain space.
- Chain three to mimic a double crochet.
- Crochet two additional double crochets into the same chain space (totaling three double crochets in one chain space), then chain one.
- Continue working three double crochets in each chain space, followed by a chain stitch, until you reach the end of the round.
- Slip stitch into the first double crochet to complete the round.
Step 4: Squaring the Circle
- Slip stitch twice – once into the first chain, then into the chain space.
- Chain three for a fake double crochet post, then double crochet once into the same chain space.
- Chain one, then make two more double crochets in the same chain space (totaling four double crochets in one space), then chain one.
- Side Stitches: In the next chain space, make two double crochets, chain one, and then two more double crochets.
- Corner Stitches: In the next chain space, create two treble crochets, chain two, and two more treble crochets. Then chain one.
- Repeat the pattern: Side stitches in the next chain spaces and corner stitches at the corners.
- Complete the round with a slip stitch into the first double crochet.
Note: Ensure that your corners remain sharp and even to form a well-balanced square shape.
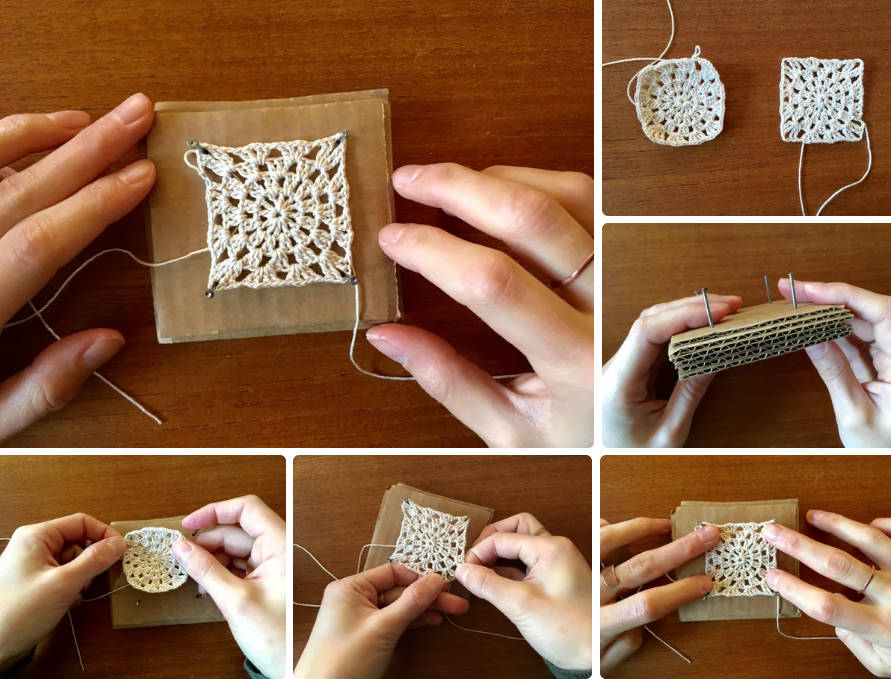
The Wonders of Blocking
Blocking enhances the final shape of your doily, making it more structured and refined.
- Stack 5-6 square pieces of cardboard together.
- Insert nails at four corners, spacing them slightly larger than the unblocked doily.
- Stretch the doily onto the nails at the four corners and let it sit.
- After an hour, you’ll notice a significant improvement in shape and tension.
Expanding Your Project
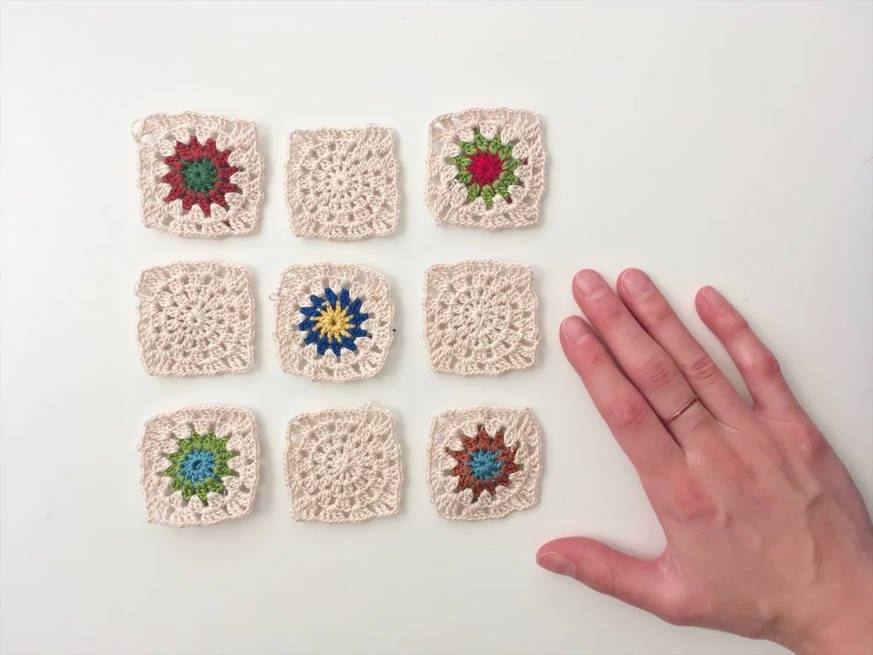
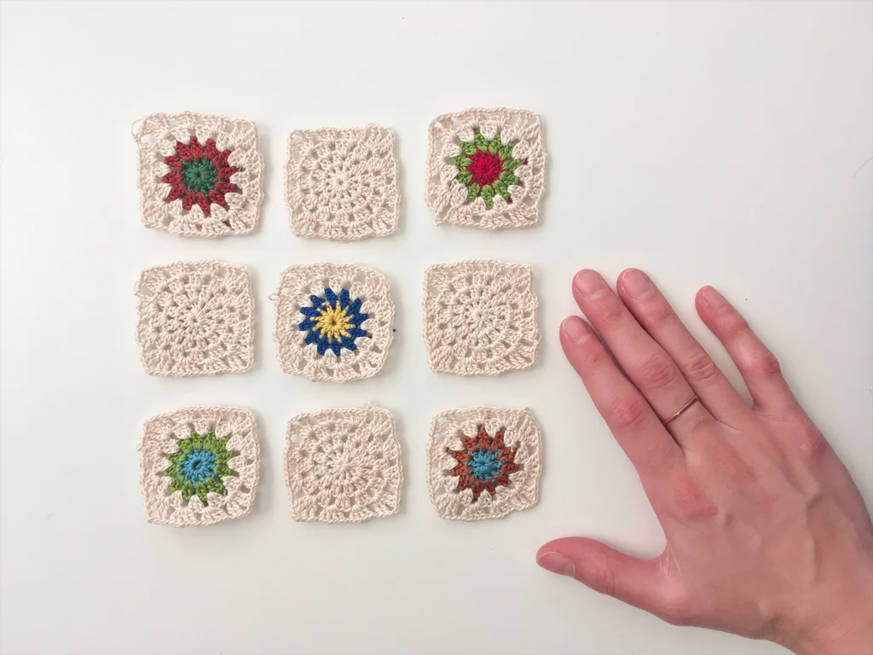
Once you’ve completed a few mini doilies, you can use them for various projects:
- Keep them as small decorative pieces.
- Use them as coasters or embellishments.
- Sew them together to form a larger design, such as a rectangular tablecloth.
Some variations you can try:
- Change colors within the pattern for a more intricate design.
- Experiment with different hook sizes to create doilies of varying dimensions.
Summary
This crochet mini doily pattern is perfect for those looking to create elegant home décor or build larger projects. With simple stitches, squared edges, and a blocking technique, this pattern is both beginner-friendly and rewarding. Happy crocheting!
This plan is a contribution by [vidiovo]. Project Via Instructables – Get the PDF Instructions here.