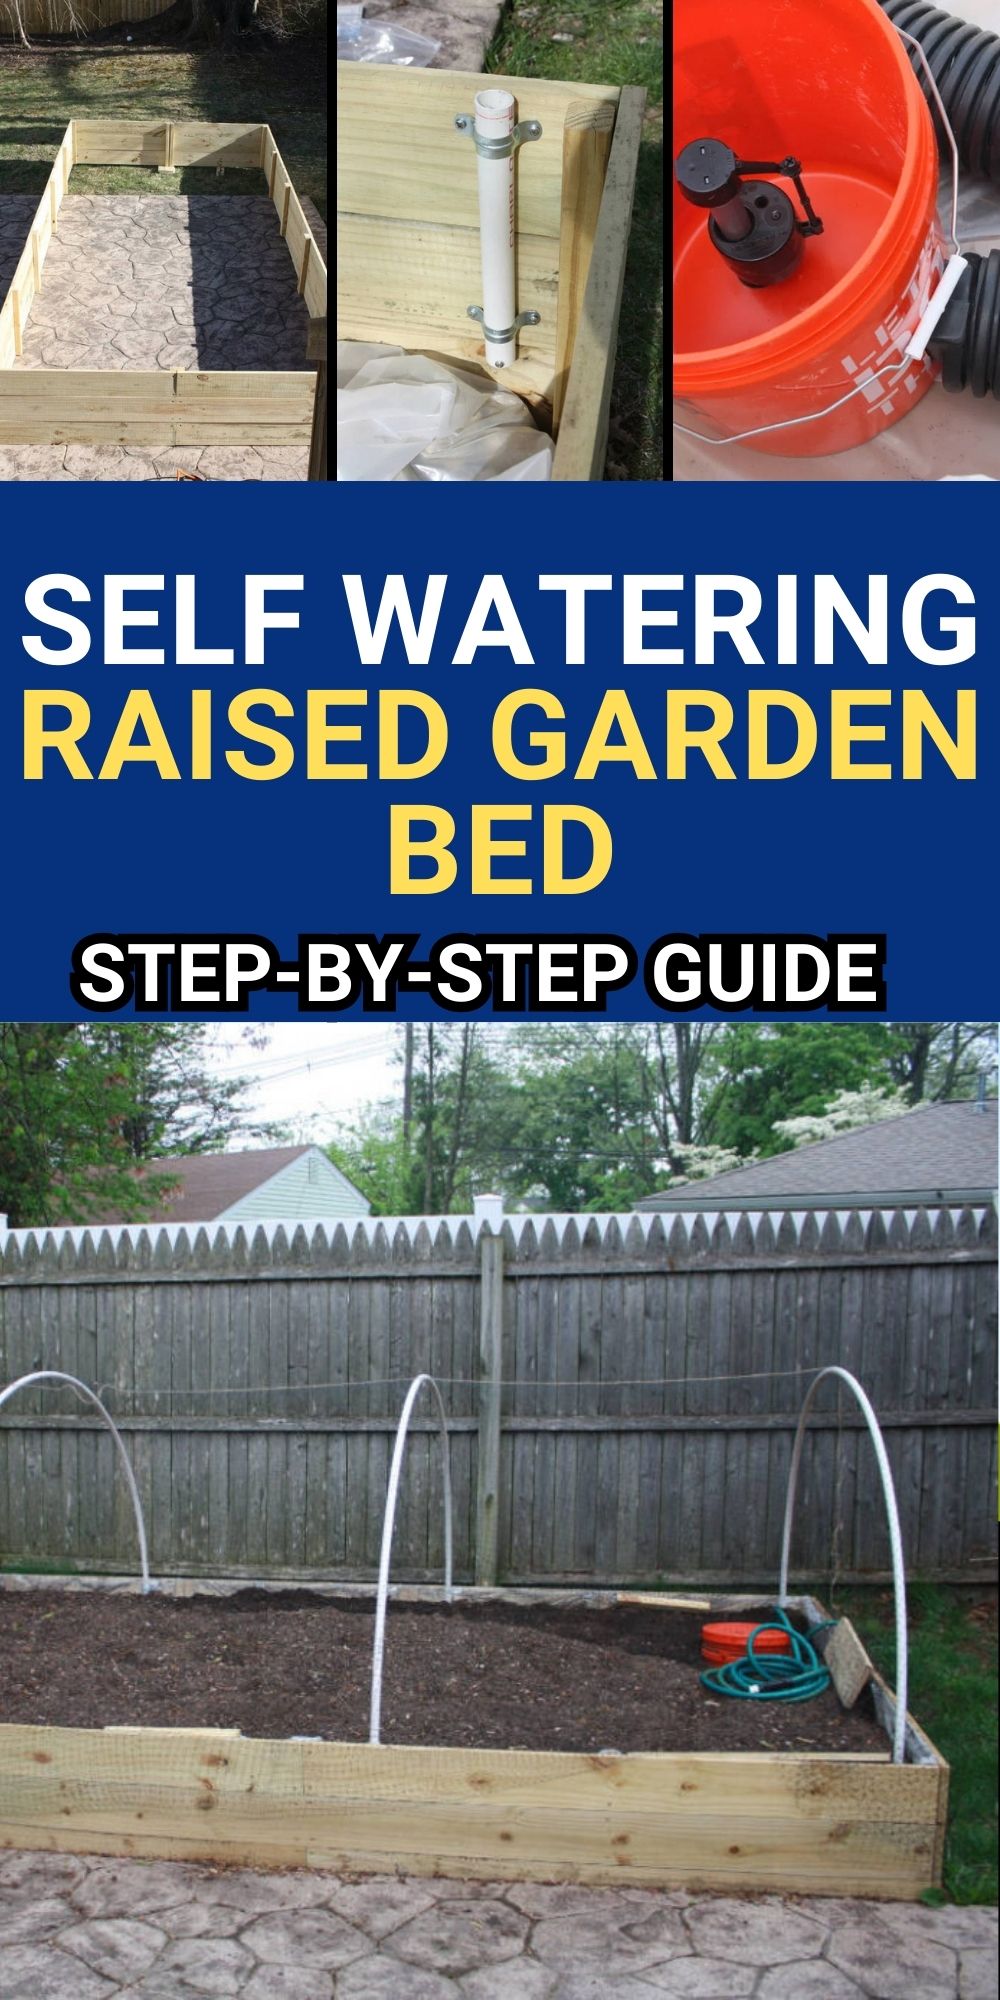
Unsatisfied with a basic raised bed garden, we decided to take things up a notch. The goal? A self-watering, auto-refilling raised bed wicking garden that reduces manual watering while optimizing plant hydration. Using a simple toilet float valve and rain barrel pressure, this design ensures our vegetables receive a steady, controlled water supply. Plus, it’s easy to adapt for greenhouses or protective fencing to keep those pesky squirrels out!
Why This Plan Works

- Water Efficiency: The wicking method minimizes evaporation and encourages deep root growth.
- Low Maintenance: The auto-refilling system means less time spent manually watering.
- Versatile Design: Adaptable for greenhouses or animal-proofing.
- Sustainable Setup: Uses rainwater and passive pressure for irrigation.
What You Will Need
Supplies
- Lumber: Pressure-treated boards for structure
- Soil & Rocks: Organic topsoil and river rocks
- Plastic Liner: Polyethylene sheet for water retention
- Irrigation Pipes: Corrugated HDPE pipes for water distribution
- Valve Assembly: Toilet float valve, hose, bucket, and fittings
- Garden Fabric: To separate soil from reservoir
- Fasteners & Miscellaneous: Screws, zip ties, tape, PVC pipes
Tools
- Drill & Bits
- Saw (Miter or Circular)
- Carpenter’s Level
- Pipe Cutter
- Razor Knife & Scissors
- Wheelbarrow & Shovel
How to Make It
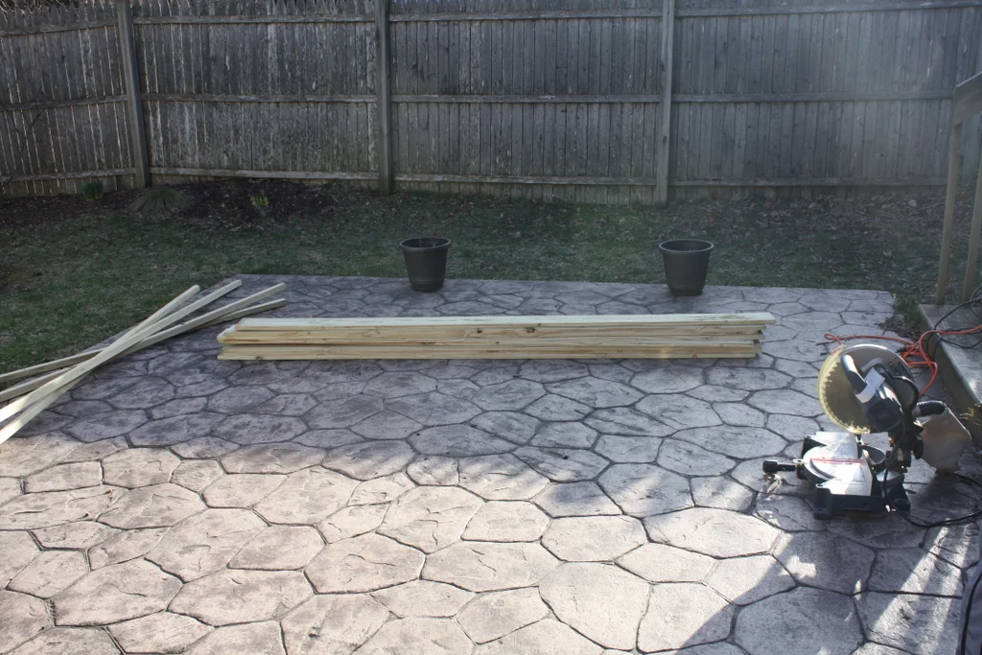
Step 1: Build the Box
- Determine the Size: Wicking beds should be 8-18 inches deep. We chose 18 inches (12-inch soil depth, 6-inch reservoir).
- Cut the Lumber: We needed:
- (15) 1.25″ x 6″ x 8′ boards
- (3) 1″ x 1″ x 8′ supports
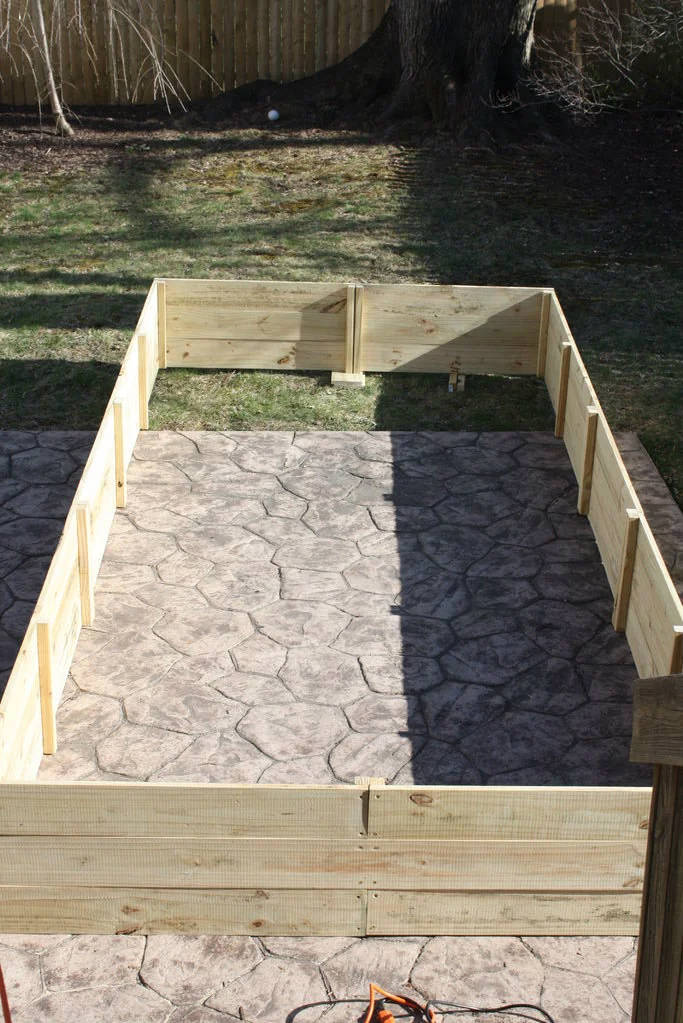
- Assemble the Frame:
- Cut and join the boards using deck screws and pilot holes.
- Reinforce with vertical supports every 3 feet to prevent bowing.
- Ensure Level Surface: Move the box to its final location and check for stability.
Step 2: Prepare the Plot
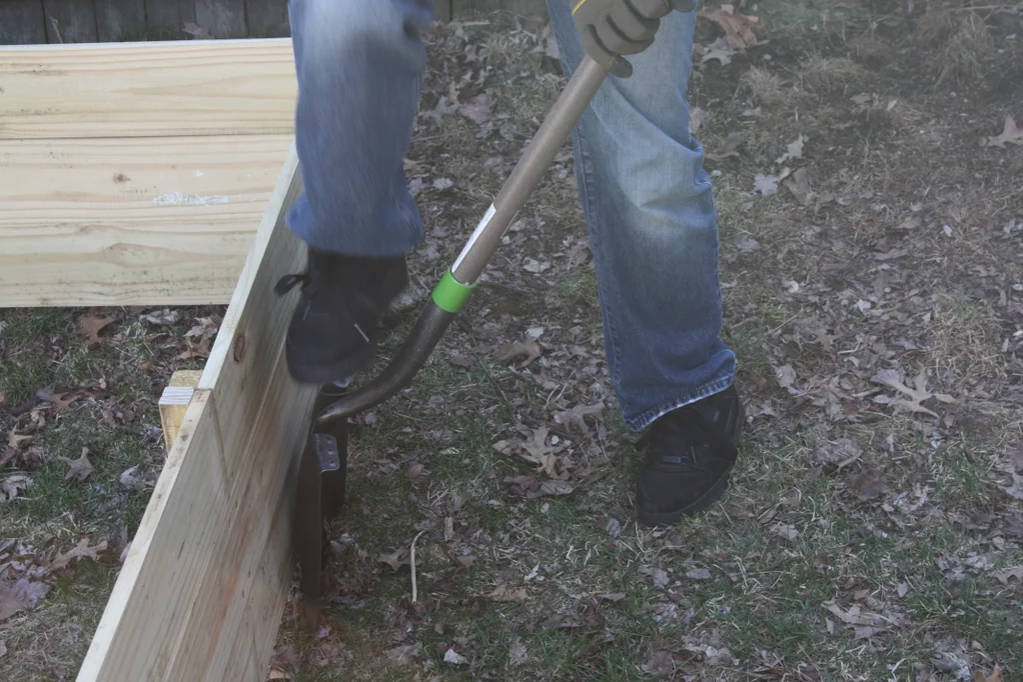
- Mark the Perimeter: Position the box and outline it using chalk or a shovel.
- Remove Grass & Level the Ground:
- If necessary, remove sod for better stability.
- Rake the soil smooth and ensure it’s level.
- Line the Bottom: Lay biodegradable cardboard for extra protection.
Step 3: Install Pole Holders (Optional)

- Cut PVC Pipes: Make 12-inch sections for supports.
- Mount Holders: Attach using pipe brackets and screws every 3 feet.
- Secure with Screws: Add a screw at the base of each holder to prevent slipping.
Step 4: Line the Box
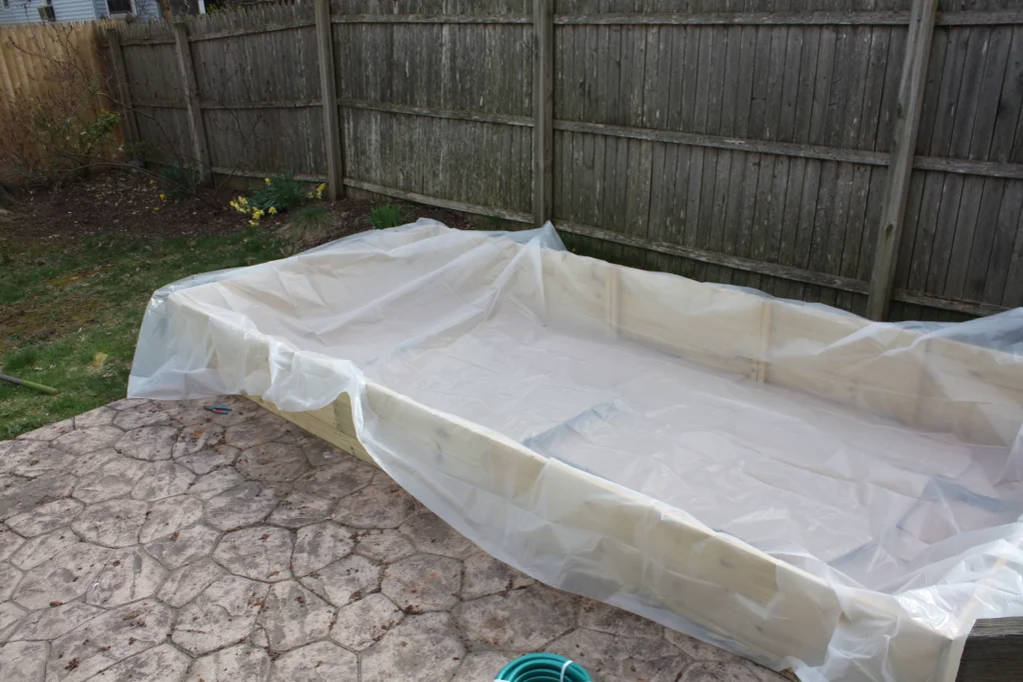
- Lay the Liner: Use a polyethylene sheet with at least 1 foot of overhang.
- Secure the Edges: Tack with staples and plastic backers.
- Weigh Down the Inside: Use rocks or bricks to hold it in place.
Step 5: Create the Reservoir

- Lay a Perimeter of River Rocks to support the irrigation pipe.
- Coil the Irrigation Pipe inside the rock bed.
- Ensure Even Distribution: Adjust as needed to prevent shifting.
- Estimate Rock Volume: Use this formula:
(length × width × reservoir depth) - (tubing volume) - Leave Space for the Valve Assembly before filling completely.
Step 6: Install the Valve Assembly
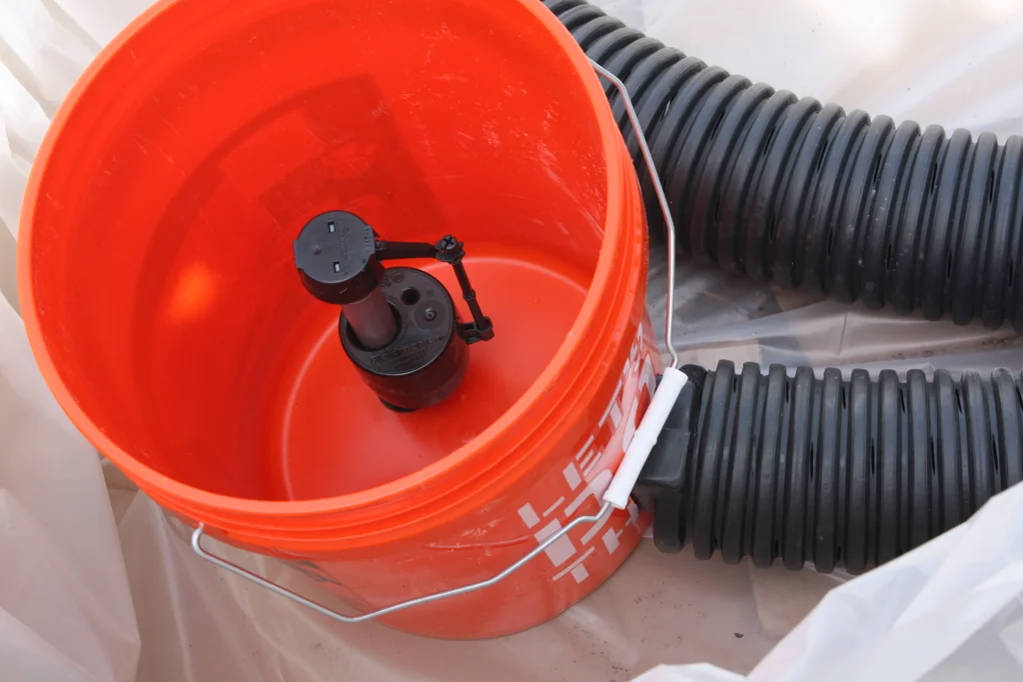
- Drill a Hole in a 5-Gallon Bucket for the float valve.
- Attach the Water Supply Line: Use hose barbs and clamps for a secure fit.
- Drill Air Holes in the Lid to prevent stagnation.
- Place the Bucket in Position within the reservoir.
- Connect the Irrigation Pipe to the Outlet of the valve assembly.
Step 7: Add the Drain & Water-Permeable Barrier
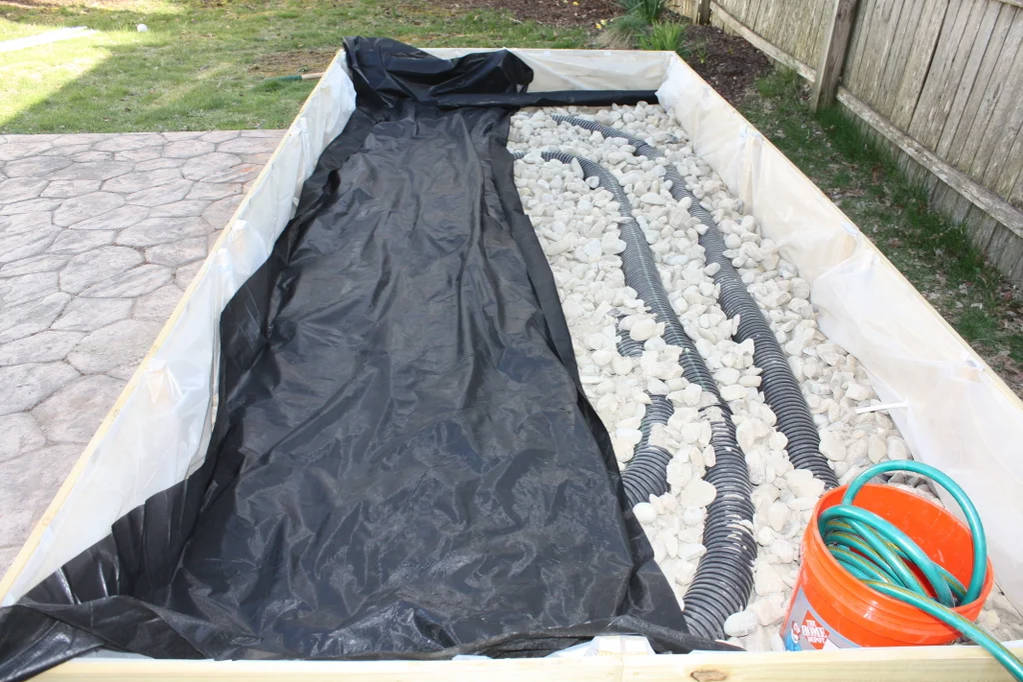
- Drill a Drain Hole above the water line and insert a short hose.
- Cover with Garden Fabric to keep out debris and insects.
- Lay the Permeable Barrier over the reservoir rocks.
- Ensure Overlap at the Edges to prevent soil seepage.
Step 8: Fill with Soil

- Mix Organic Soil & Compost for nutrient-rich planting.
- Shovel in Soil Gradually:
- First 10 wheelbarrows to secure the edges.
- Use a ramp to distribute the rest evenly.
- Calculate Soil Volume:
length × width × soil depth - Rake Smooth & Level: Finalize the surface for planting.
Step 9: Connect to Water & Enclose (Optional)

- Attach the Rain Barrel Hose to the float valve.
- Test the Auto-Fill Mechanism to ensure proper function.
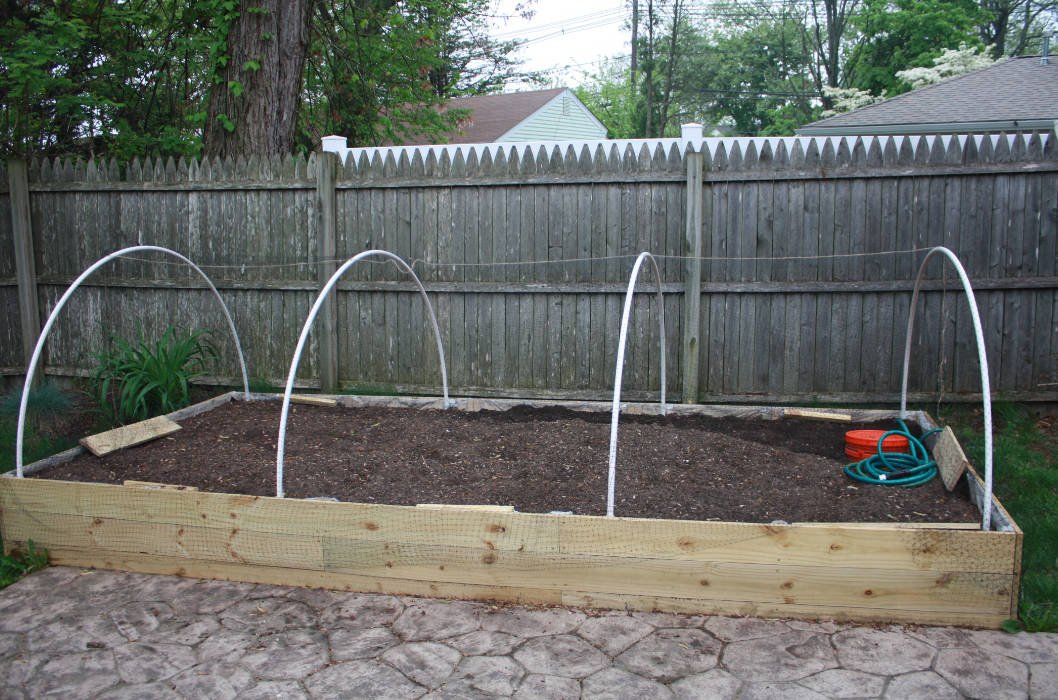
- Install PVC Hoops for fencing or greenhouse covers.
- Drape Netting or Plastic Film over the frame if needed.
Other Details Display

- Reservoir Depth: 6 inches
- Soil Depth: 12 inches
- Total Box Dimensions: 13′ x 6′ x 1.5′
- Water Source: Passive gravity-fed rain barrel
- Time to Build: 1 weekend
- Skill Level: Intermediate DIY
Summary
A self-watering raised bed wicking garden is a game-changer for home gardening. By incorporating a toilet float valve and passive irrigation, this setup ensures consistent hydration with minimal maintenance. Whether you’re looking to save water, automate your garden, or protect your plants, this design delivers! Now, sit back, relax, and let your garden water itself while you enjoy the harvest.
This plan is a contribution by [zymurgeneticist]. Project Via Instructables – Get the PDF Instructions here.


