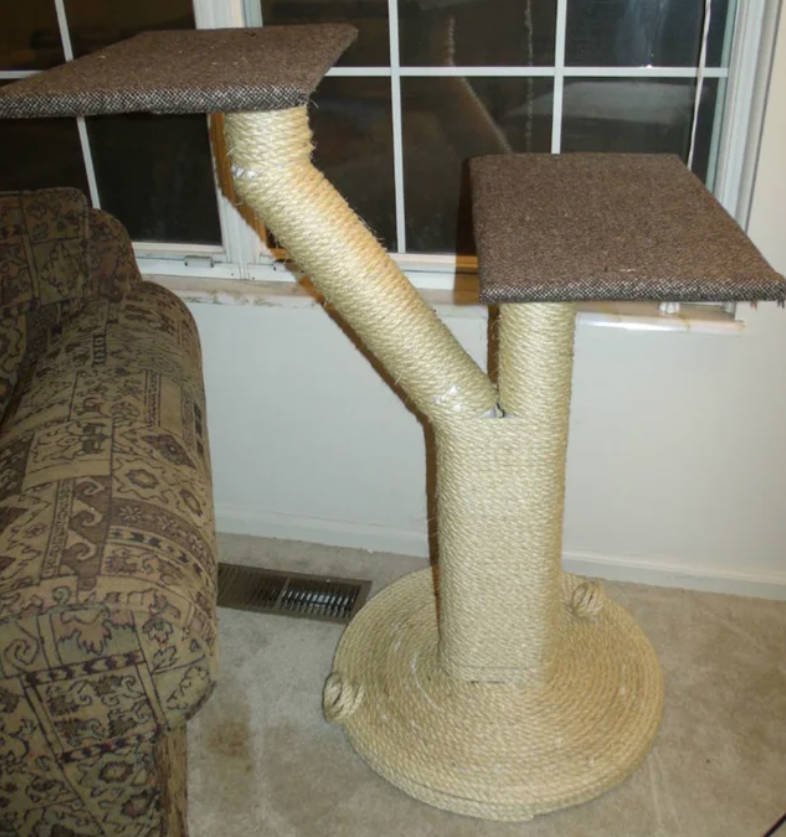
For as little as $15-$20, you can create an attractive, durable, and space-efficient cat seat that your feline companions will love. While this particular version uses sisal rope, opting for fabric can make it even more affordable without sacrificing aesthetic value or feline appeal.
Why This DIY Cat Seat Works

- Multi-functional: A comfortable window perch combined with a scratching post
- Budget-friendly: Costs significantly less than store-bought alternatives
- Customizable: Adjust the height, shape, and materials to suit your space
- Space-saving: Ideal for small spaces where multiple cat seats won’t fit
- Sturdy & Durable: Built to last using strong materials
What You Will Need
Tools:
- Pencil or marker
- Power screwdriver or Phillips head screwdriver
- Jigsaw
- Heat gun or propane torch (a hairdryer might work)
- Caulking gun (optional)
Supplies:
- (3) pieces of 3/4″ particle board or plywood
- 4″ PVC pipe (lightweight drainage pipe is best)
- 250 feet of sisal rope (or fabric substitute)
- (2) 4″ PVC pipe end caps
- 3/4″ gold screws
- Glue (construction glue, hot glue, or white glue)
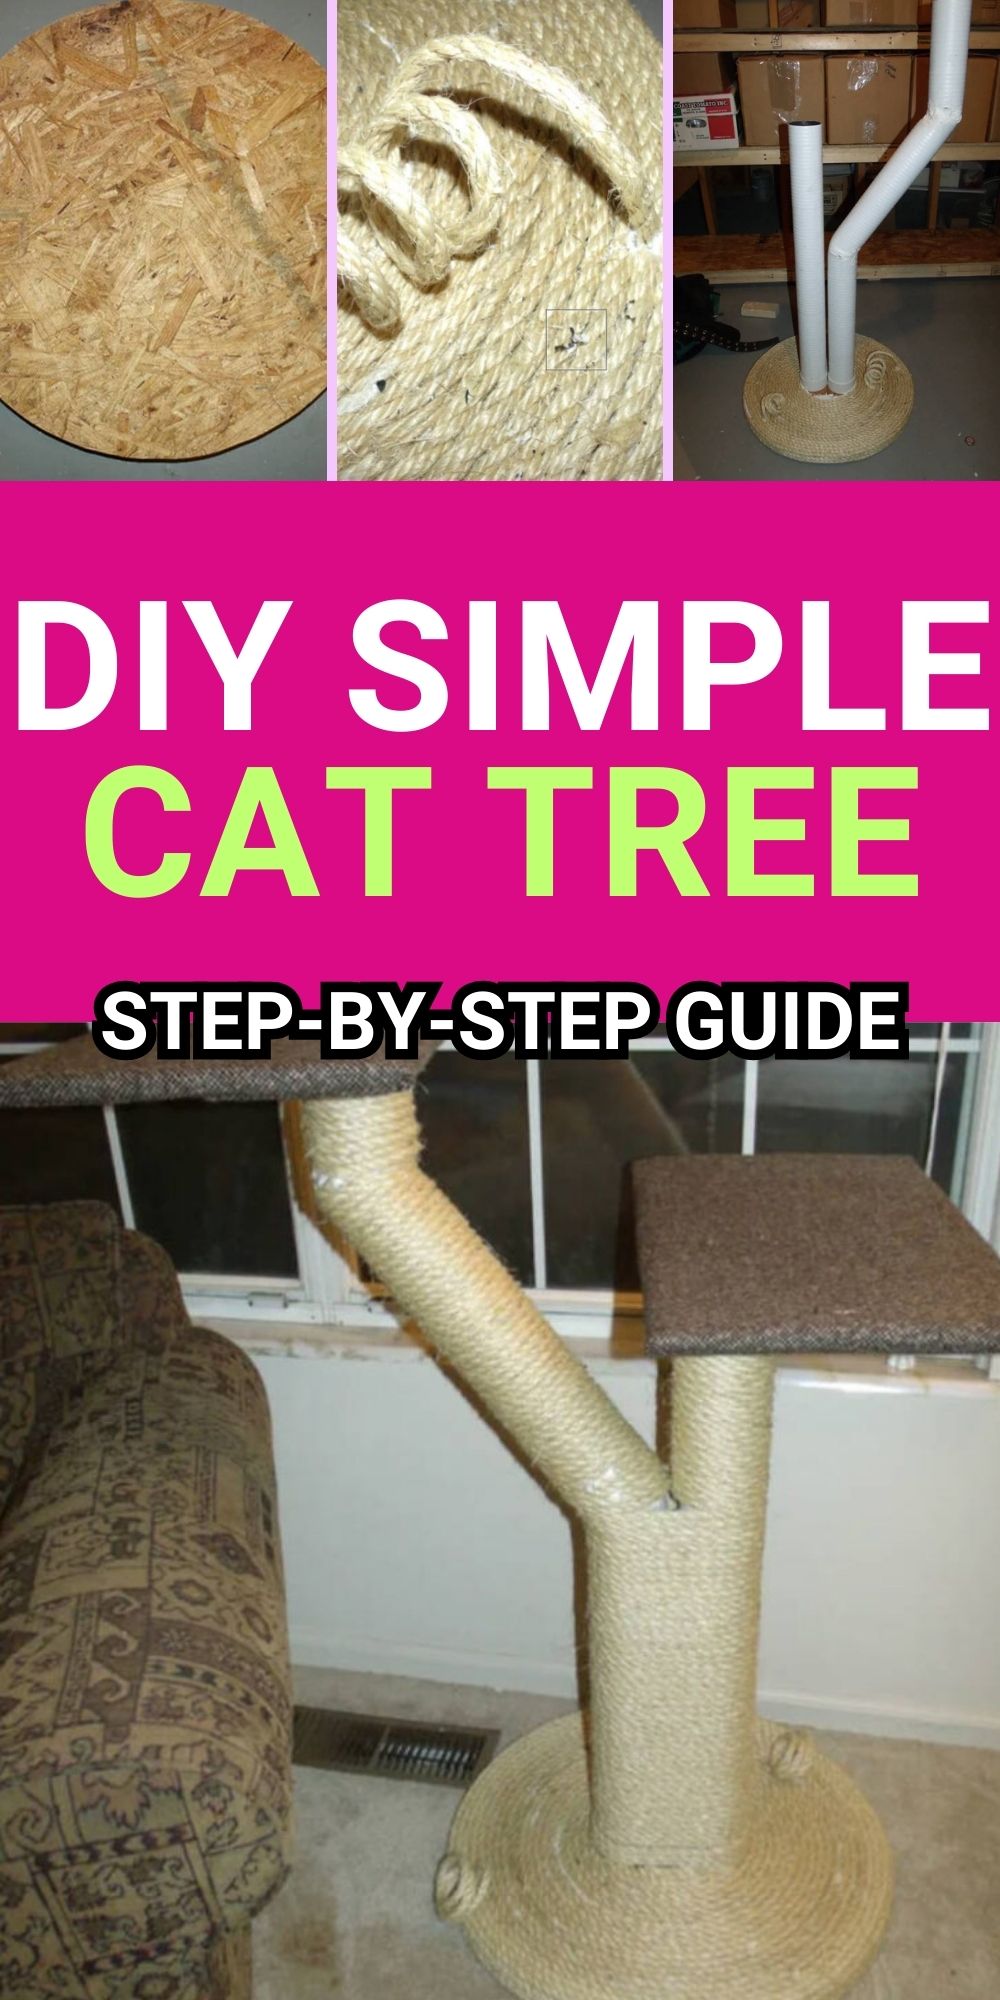
How to Make Your Cat Window Seat
Step 1: Create the Base

The base provides stability for the cat seat and should be cut from 3/4″ wood. A circular base works best when using sisal rope, while a square or rectangular base is ideal for fabric.
- Draw the shape you want on a piece of wood.
- Ensure the base is large enough for stability—at least 1.5 feet for one cat and 2 feet for two cats.
- Cut out the shape using a jigsaw.
Step 2: Prepare the Posts

For a two-seater design, one post should be taller than the other:
- Cut the first PVC post to about 2.5 feet (for the lower seat).
- Prepare the taller post:
- Mark the PVC pipe at 1.5 feet and 2.5 feet.
- Heat the pipe at the first mark using a heat gun and bend it to a 45-degree angle.
- Heat the second mark and bend it at another 45-degree angle.
- Hold each bend until the pipe cools and retains shape.
- Measure and cut the final height to 3.5 feet.
Step 3: Attach the End Caps
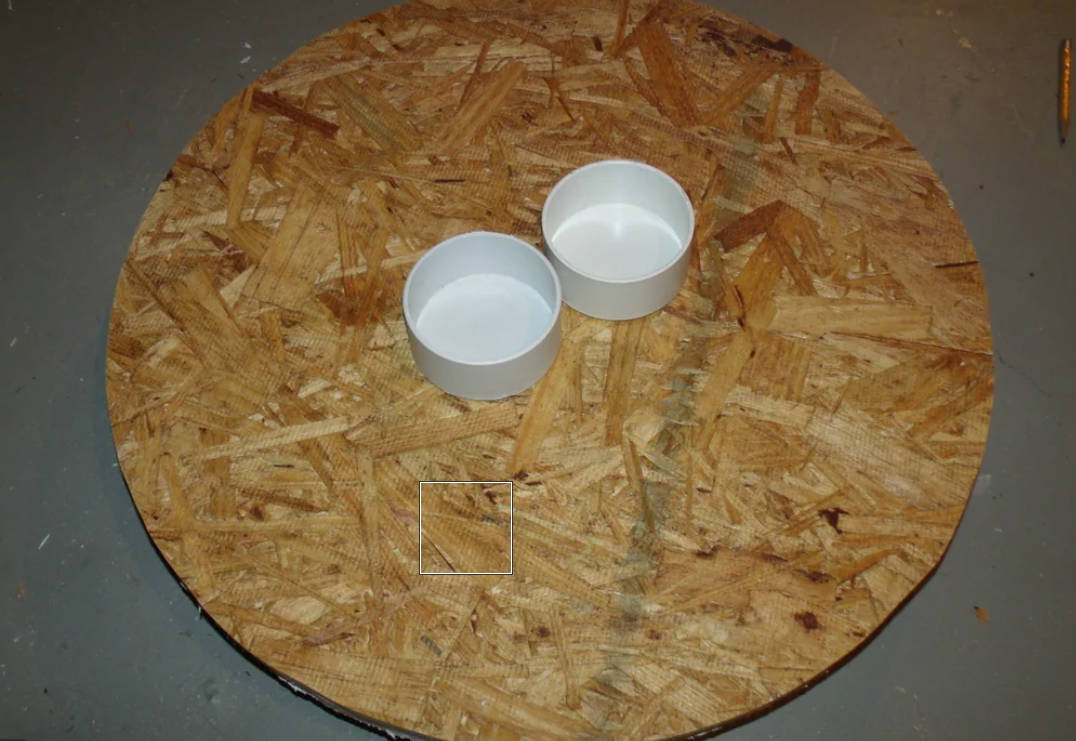
- Find the center of the base.
- Secure the PVC end caps to the base using screws.
- (If using fabric) Attach the fabric before securing the end caps.
Step 4: Wrap the Base with Rope

- Start at the center near the end caps and secure the rope’s end with screws or staples.
- Apply glue in a circular pattern and spread it with a putty knife.
- Coil the rope outward, pressing it into the glue as you go.
- Continue gluing and wrapping until the entire base is covered.
- Fill in any gaps around the end caps with small rope pieces.
Step 5: Attach the Posts
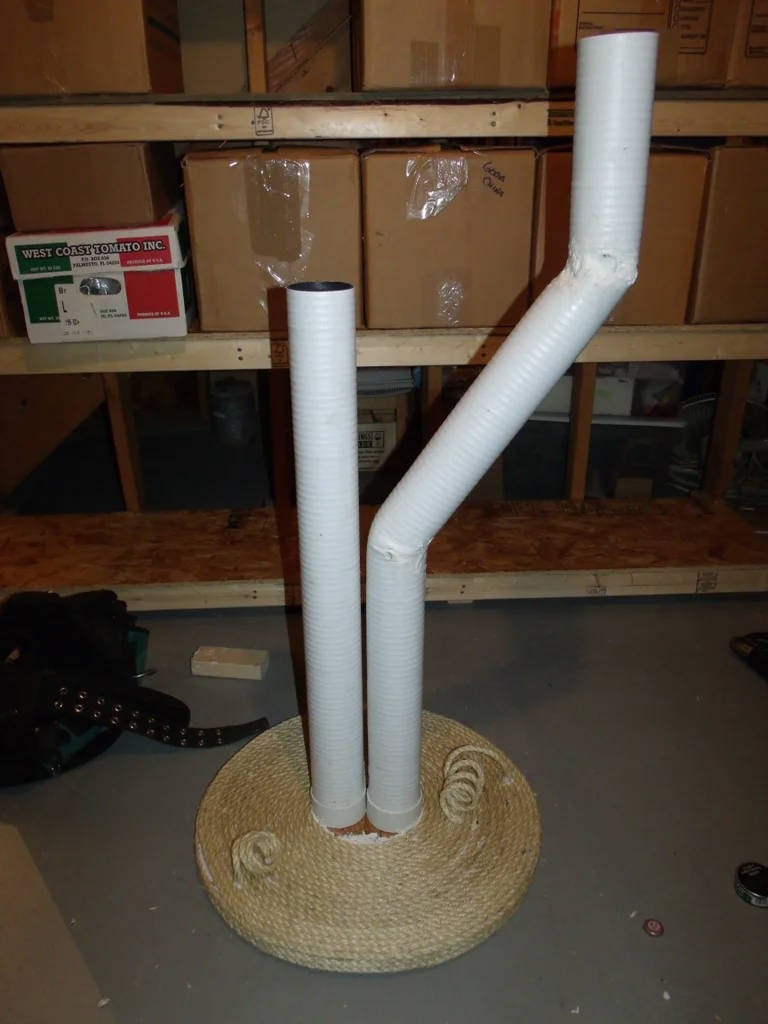
- Insert the PVC pipes into the end caps.
- If necessary, secure them with Gorilla Glue or another strong adhesive.
- If you prefer a portable design, leave them unglued for easy disassembly.
Step 6: Wrap the Posts with Rope
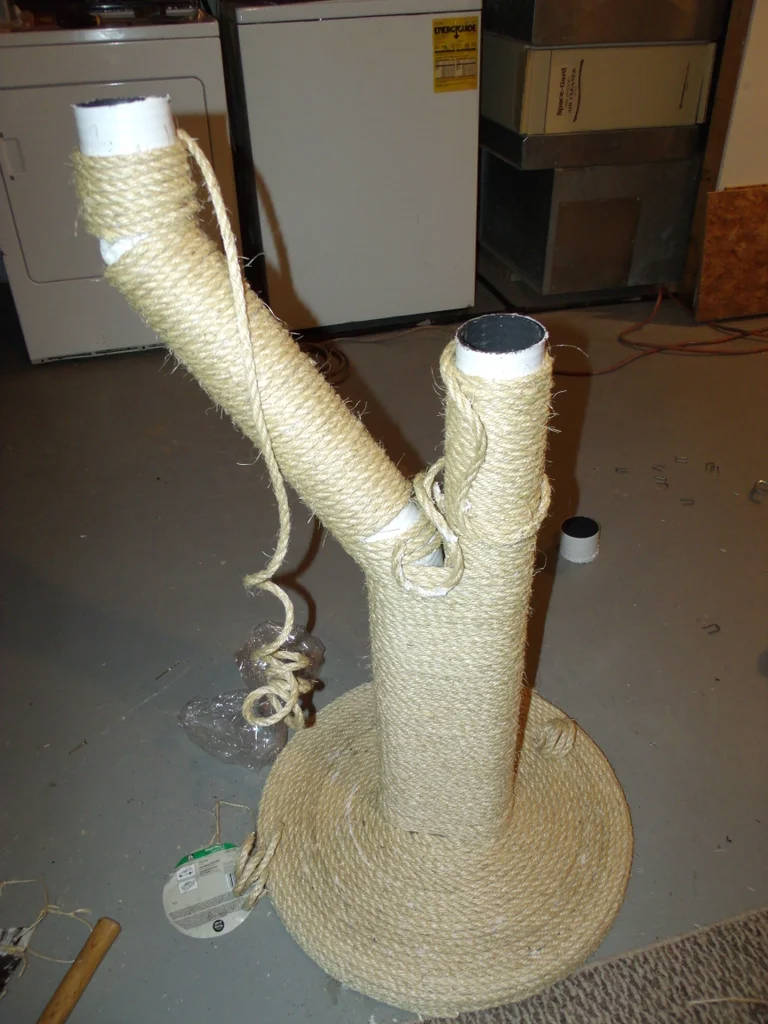
- Secure the end of the rope to the base near the post.
- Apply glue along the first foot of the pipe.
- Wrap the rope tightly around the post, pressing firmly into the glue.
- Continue wrapping and gluing up to 2 inches from the top.
- Repeat for both posts.
Step 7: Cut the Seats
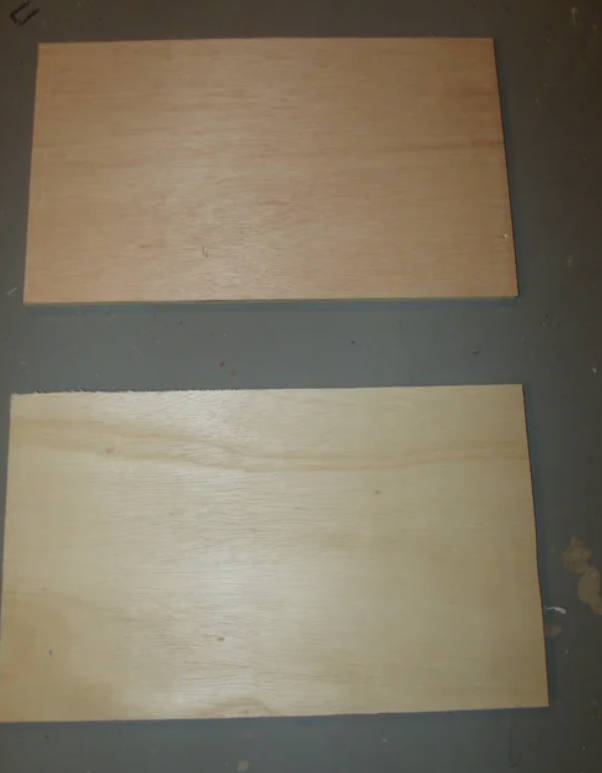
- Cut the remaining wood into two seat shapes.
- Square seats are easier to wrap with fabric, while a “peanut” shape is ideal for cat comfort.
- Sand the edges for a smoother finish.
Step 8: Cover the Seats with Fabric
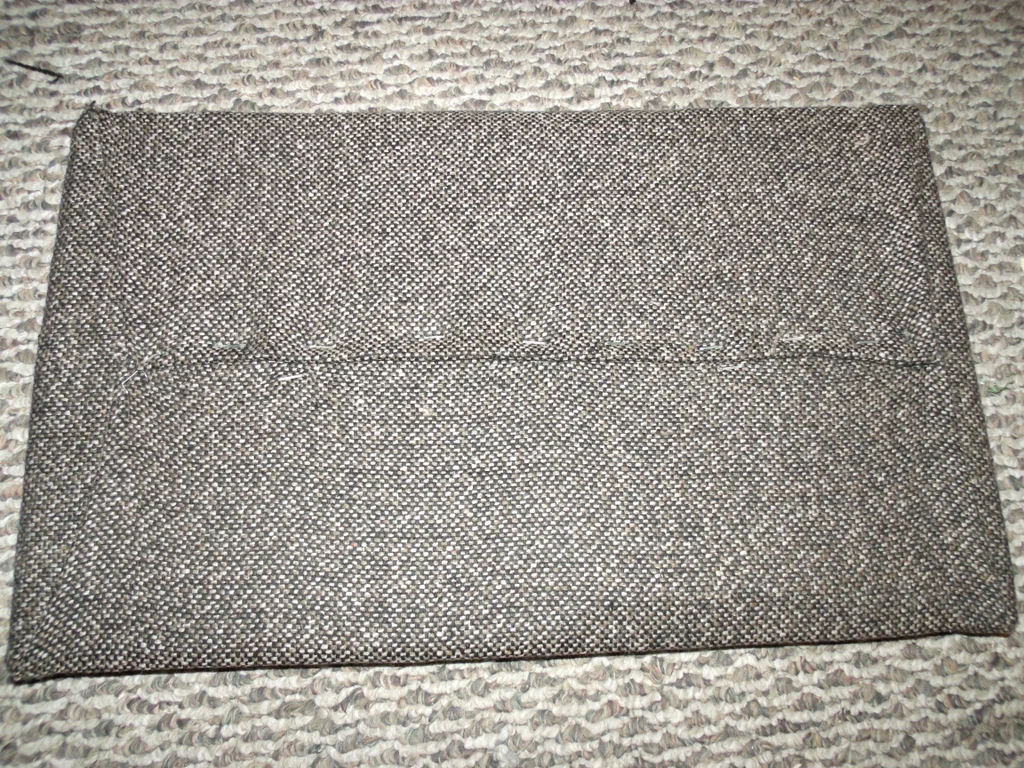
- Apply glue to the seat’s surface.
- Wrap the fabric around the wood, pulling it tightly.
- Staple or glue fabric underneath.
- (For rounded shapes) Make small cuts in the fabric edges and glue each piece individually.
Step 9: Attach the Seats

- Position and screw PVC end caps to the seats.
- Attach the seats to the top of each post.
- Apply glue before inserting for added stability.
Step 10: Finish Wrapping the Posts
- Apply glue to the remaining 2 inches of the post and wrap with rope.
- Cut small pieces of rope to fill in gaps where the taller post bends.
Additional Details for Customization
- Fabric Options: If sisal rope isn’t your preference, a soft fabric will work just as well and reduce costs.
- Adjusting Heights: Customize the post height based on your cat’s jumping ability and window level.
- Portable Design: If you may need to move the seat, avoid gluing the PVC pipes permanently.
- Adding Toys: Secure a dangling toy or small rope to the post for extra feline entertainment.
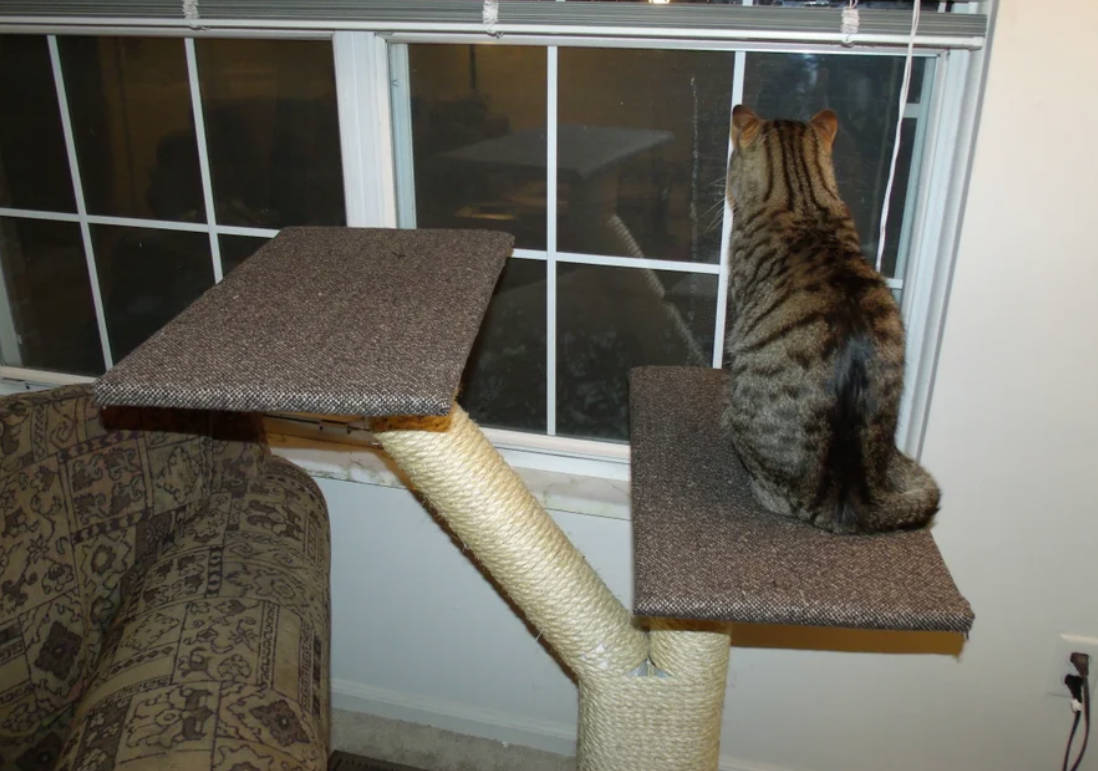
Summary
This DIY Two-Seater Cat Window Seat & Scratching Post provides a cozy, elevated spot for your cats to enjoy the view while also serving as a durable scratching post. With affordable materials and simple tools, you can create a custom space your feline friends will love. Try this easy project today and give your cats the perfect perch!