Do you have a high-energy cat that loves to climb, scratch, and play? Finding the perfect cat tree can be challenging, especially when store-bought options are expensive and often don’t meet all your cat’s needs.
Instead of spending a fortune on a pre-made cat tree, why not build your own? This DIY cat tree project is budget-friendly, easy to make, and completely customizable. Plus, it provides your feline friend with a cozy space to lounge, scratch, and explore.
Why This DIY Cat Tree Works
- Affordable – Uses inexpensive, easy-to-find materials from your local pet store and hardware store.
- Customizable – You can tailor the design to fit your space and your cat’s preferences.
- Sturdy & Durable – Built to withstand energetic climbing and scratching.
- Fun for Your Cat – Includes two levels, carpeted surfaces, and hanging toys for entertainment.
- Easy to Make – No special skills required—just follow these simple steps!
What You Will Need
Gather the following materials before starting your DIY cat tree project:
- Base: 2 ft x 2 ft plywood
- Platforms: 2 circular platforms (18” in diameter)
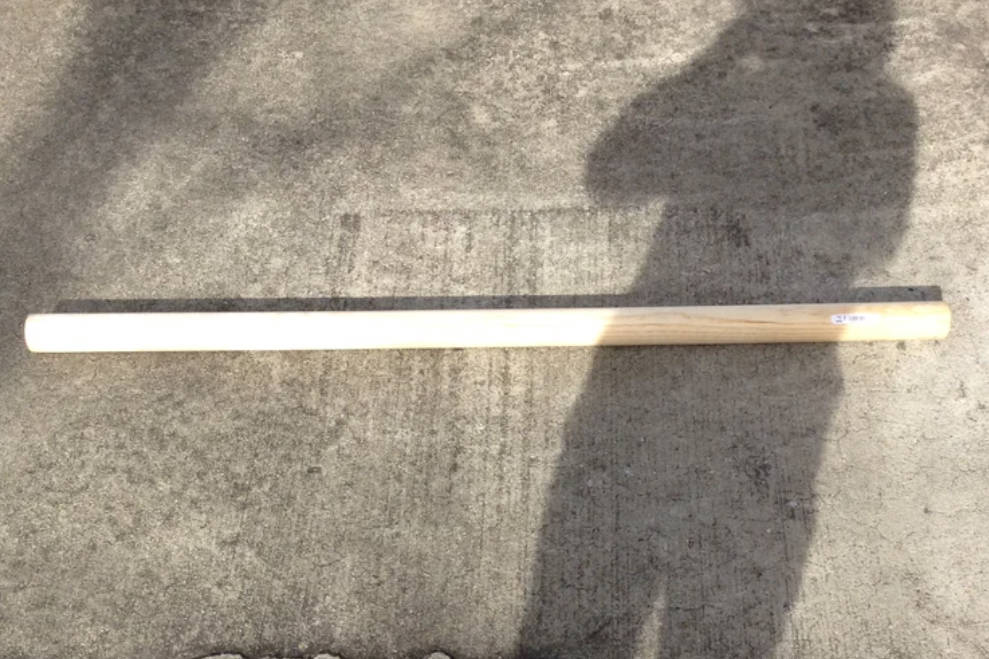
- Main Support: 1 dowel (2” diameter, 4 ft tall)
- Additional Supports: 2 dowels (1” diameter, 4 ft tall)
- Carpet Scraps (for covering surfaces)
- Screws (for securing the structure)
- Kitty Toys (to attach for extra fun)
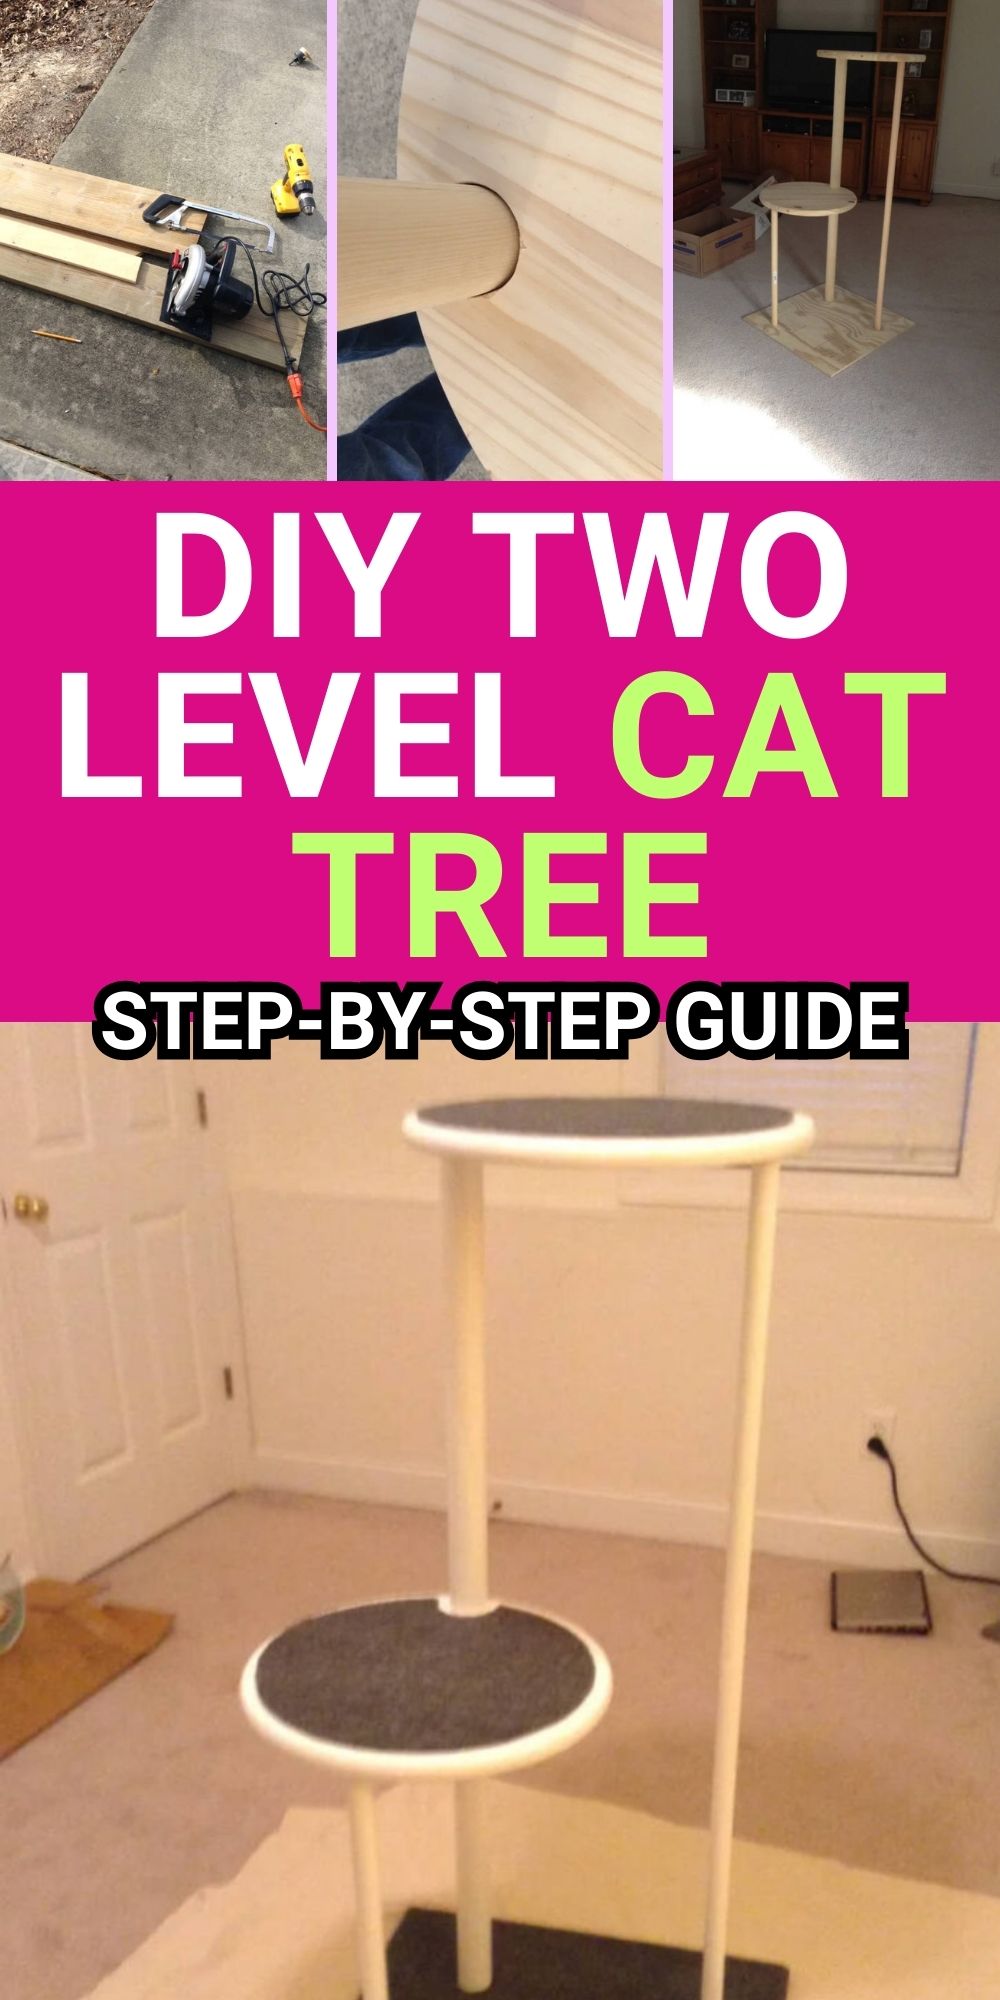
How to Make a DIY Cat Tree
Step 1: Gather Supplies
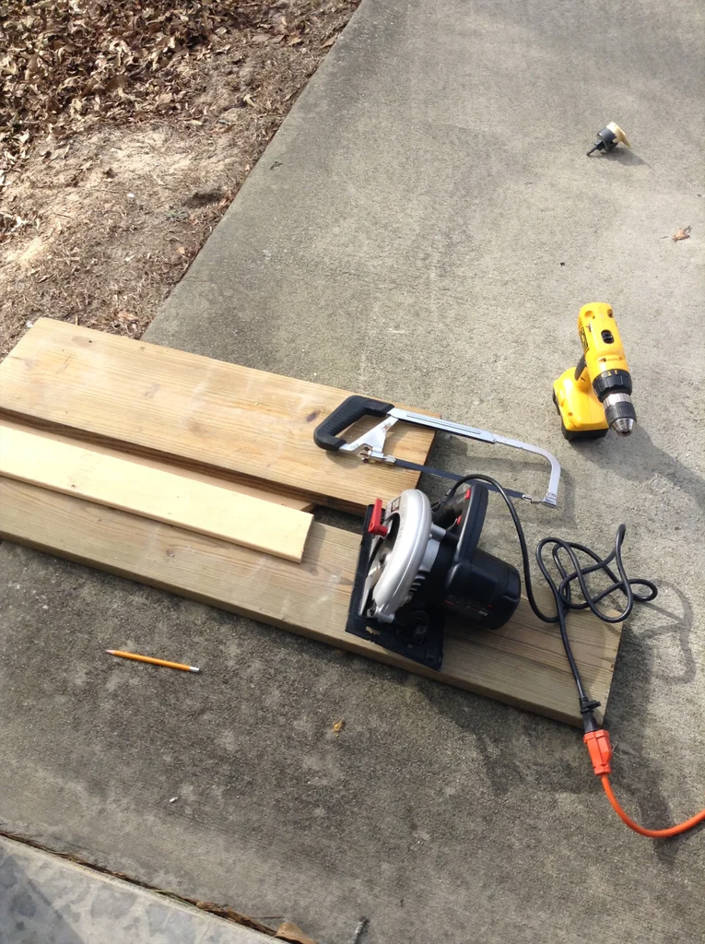
Before you begin, make sure you have all the materials and tools on hand. Lay everything out in your workspace for easy access.
Step 2: Prepare the First Platform
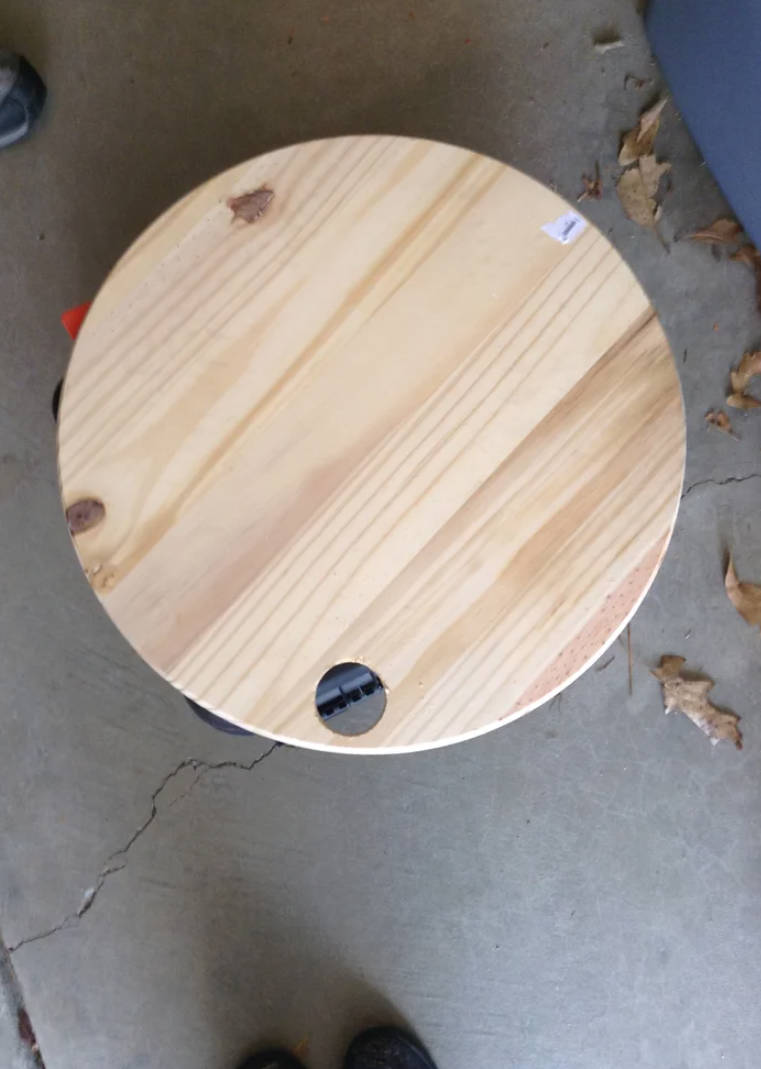
Take one of the circular platforms and cut a hole near its edge. The hole should be big enough to fit the largest dowel through it. Position the hole 23 ½ inches from the bottom to ensure proper alignment.
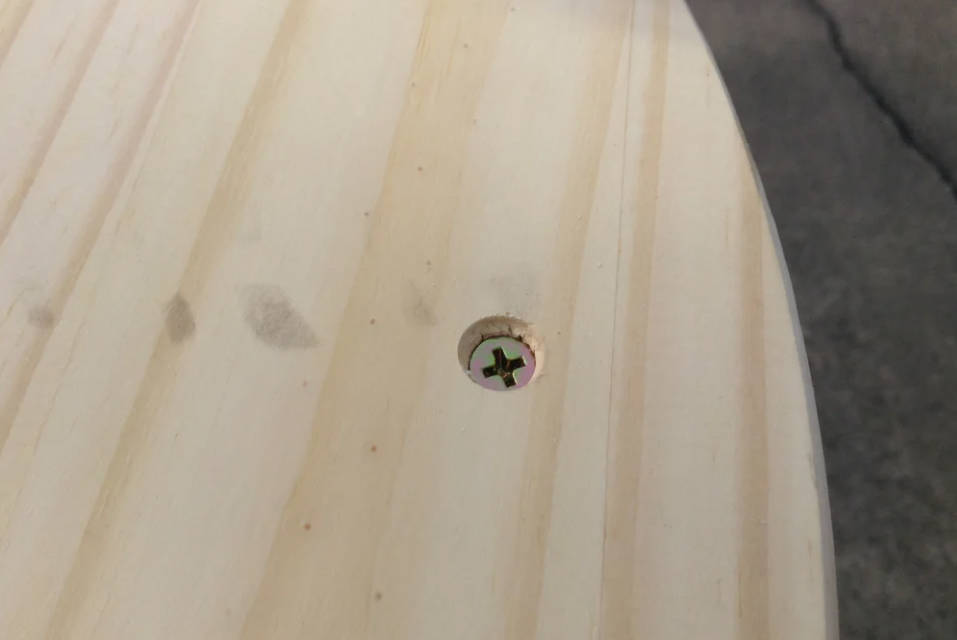
Step 3: Assemble the Main Support
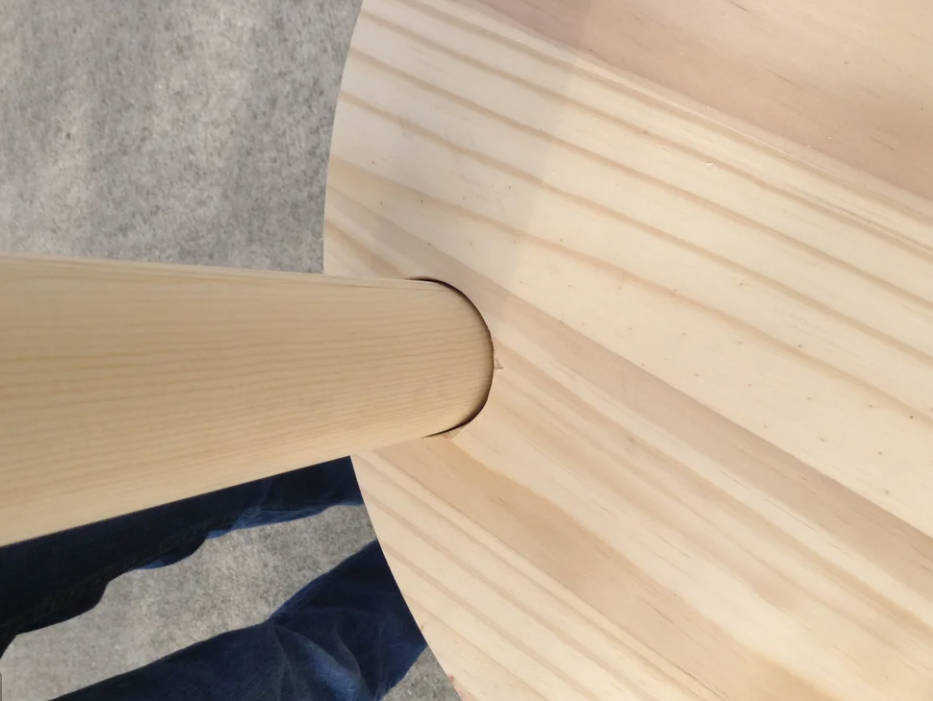
Once the platform and dowel fit together, secure them with screws to prevent any movement. Ensure the structure is firm before proceeding.
Step 4: Prepare the Second Dowel
Take one of the smaller dowels and cut it to 23 ½ inches so that it aligns with the first platform and the main dowel. This will act as additional support.
Step 5: Secure the Support Dowel
Use screws to attach the cut dowel to the structure, reinforcing stability.
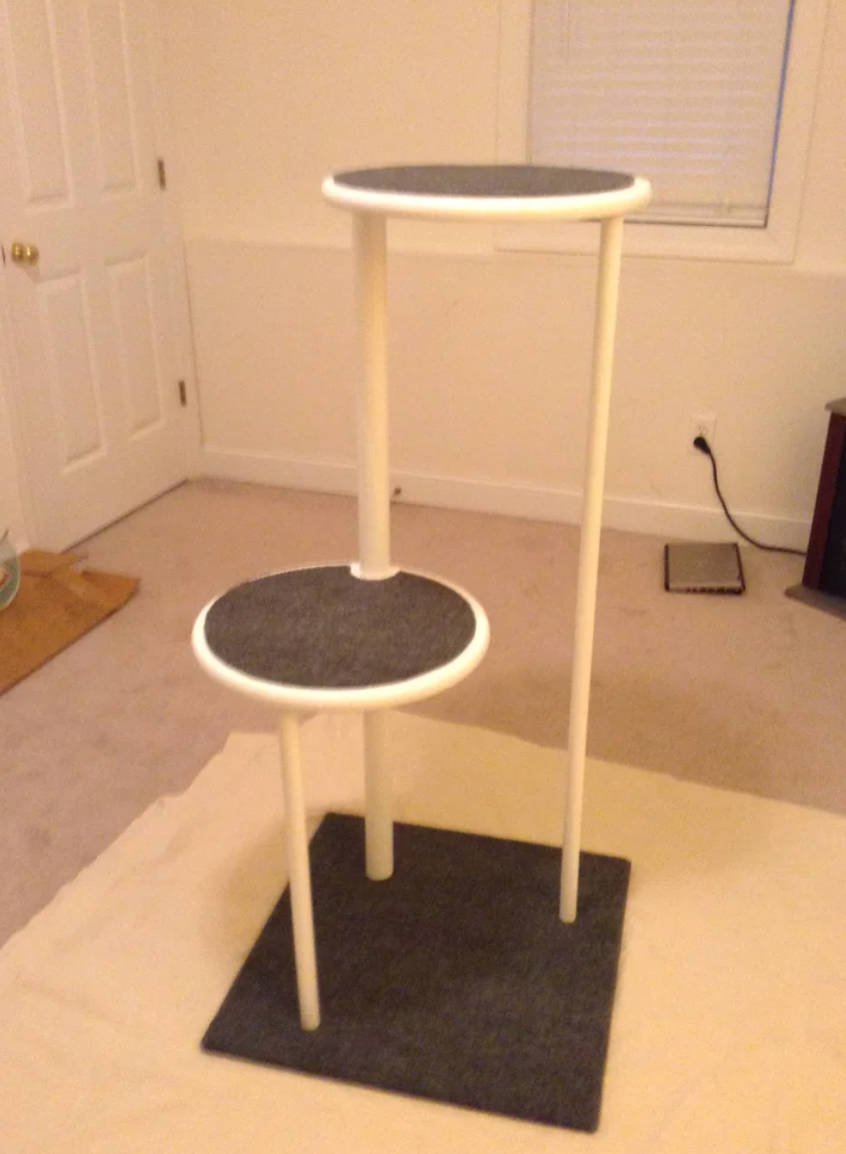
Step 6: Attach the Second Platform
Now, take the second circular platform and attach it to the top of the large dowel. Ensure it is centered and secured tightly.
Step 7: Secure the Platform
Screw the second platform into the large dowel, making sure everything is aligned and stable.
Step 8: Attach the Base

It’s time to add the base for support. Secure it to the three dowels to ensure stability. This will prevent wobbling and make the tree safe for climbing.
Step 9: Add the Final Touches

Once the structure is assembled, cover the base and platforms with carpet scraps. This provides a soft and cozy surface for your cat to lounge and scratch. You can also paint or stain the wood to match your home decor.
Step 10: Add Fun Accessories
To make the cat tree even more enjoyable, hang some kitty toys from the platforms. This will keep your cat engaged and entertained.
Final Step: Before introducing your cat to its new play area, double-check that all screws are tight and the structure is stable. Once you’re confident that the tree is secure, let your cat explore and enjoy!
Other Details Display

- Base Material: Plywood for strong support
- Height: Approximately 4 feet tall
- Surface Covering: Carpet scraps for comfort
- Customization Options: Add extra platforms, ramps, or scratching posts
- Maintenance: Regularly check for loose screws and worn-out carpet
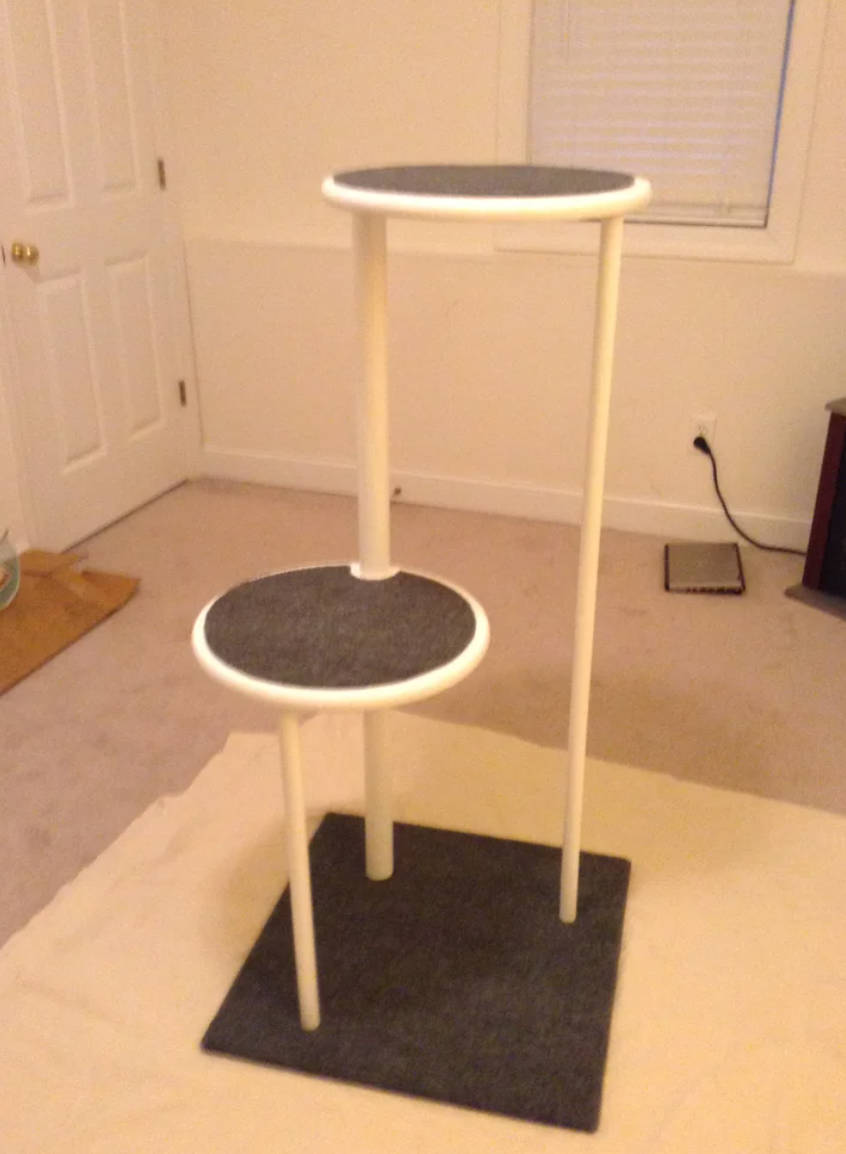
Summary
This DIY Two-Level Cat Tree is the perfect solution for energetic cats who love to climb and play. With an easy-to-follow design and budget-friendly materials, you can create a sturdy, customized cat tree that keeps your feline friend entertained. Get started today and give your cat a fun and comfortable space to call their own!
This plan is a contribution by [10013753]. Project Via Instructables – Get the PDF Instructions here.