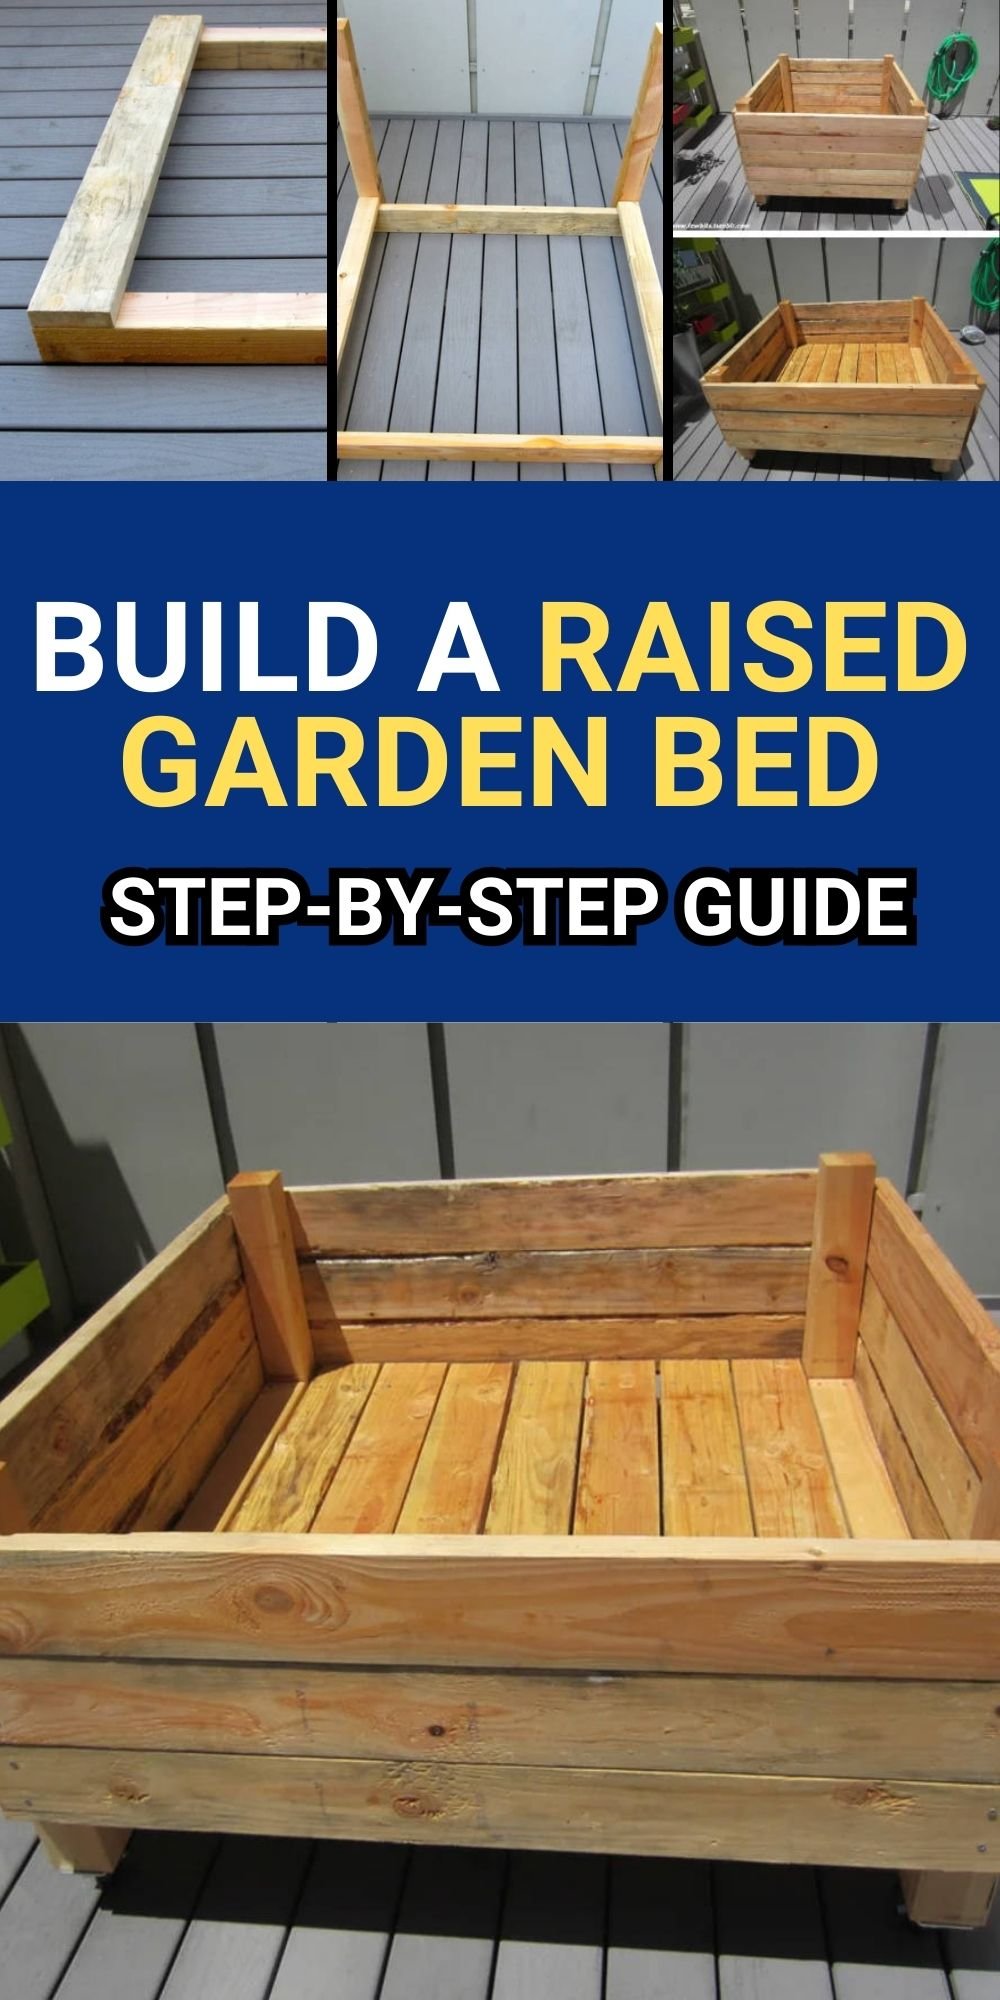

Gardening in small spaces doesn’t have to be a challenge! With this simple and affordable DIY project, you can build a 4’x4’ raised garden bed on casters, perfect for decks, patios, and small yards. This project can be completed in a day for under $100, and we’ll guide you step by step to make either an 18” high or 30” high version.
Why This Plan Works
- Portable & Versatile – The casters allow you to move your garden bed easily, ensuring your plants get the best sunlight.
- Customizable Size – Adjust the lumber lengths to fit your space and gardening needs.
- Budget-Friendly – Construct this bed for under $100 with standard materials.
- Durable & Practical – Designed for proper drainage and built with sturdy materials.
What You Will Need
For the 18” High Planter Bed:
Lumber:
- 21 pieces of 2×6, each 4’ long
- 2 pieces of 2×4, each 41” long
- 4 pieces of 4×4, each 24” long
Other Materials:
- 2 1/2” galvanized screws
- 4 industrial-strength casters (250 lb load capacity each)
- Drill & drill bit for pilot holes
- Phillips head bit tip
- Tape measure
- Pencil
For the 30” High Planter Bed:
- Same as the 18” version, except:
- 29 pieces of 2×6 (4’ long)
- 4x4s should be 36” long
Lumber Note: Cedar and redwood are recommended for outdoor use due to their resistance to rot, but Douglas fir is a budget-friendly alternative. Choose based on your needs.
Caster Note: Since the weight of wood and soil adds up quickly, ensure each caster supports at least 250 lbs. SES Casters offers affordable, high-quality options.
How to Build a Raised Garden Bed on Casters
Step 1: Position the Base Supports

Place two of the 4x4s on the ground, 4 feet apart. Lay a 2×6 across them to create the base structure.
Step 2: Secure the Base

Drill pilot holes and screw the 2×6 into the 4x4s. Ensure the top and sides are flush before securing.
Step 3: Stand Up the Frame
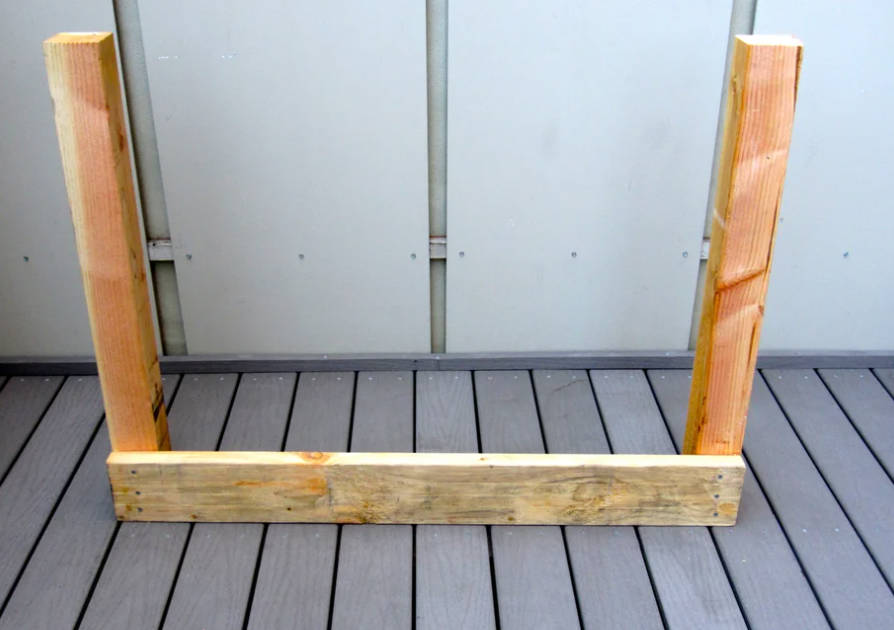
Once secured, stand up the base structure—you now have one side of the planter.
Step 4: Repeat for the Other Side

Repeat Steps 1-3 to assemble the second side of the planter. Position them 4 feet apart so they are parallel.
Step 5: Add Frame Support

Place the two 2x4s along the inside edges of the 2x6s and 4x4s to create a sturdy frame. This reinforces the structure and will support the bottom of the bed.
Step 6: Attach the Frame Supports

Drill pilot holes and screw the 2x4s into the 2x6s to secure the frame.
Step 7: Install the Bottom Boards

Evenly space seven 2×6 boards across the bottom of the bed for proper drainage. Drill pilot holes and screw them into the 2×6 supports.
Note: Proper spacing between the bottom boards is essential for drainage and plant health.
Step 8: Start Building the Sides

Begin stacking 2x6s to form the planter walls. Place the first board level on the 4×4 posts, drill pilot holes, and screw it into place.
Step 9: Repeat on the Opposite Side

Repeat Step 8 on the opposite side. Then, follow the same process to complete all four sides of the bed.
Step 10: Attach the Casters

Before adding more weight, install the casters. Lift the frame (with help, if needed), mark your pilot hole locations, and screw the casters into place.
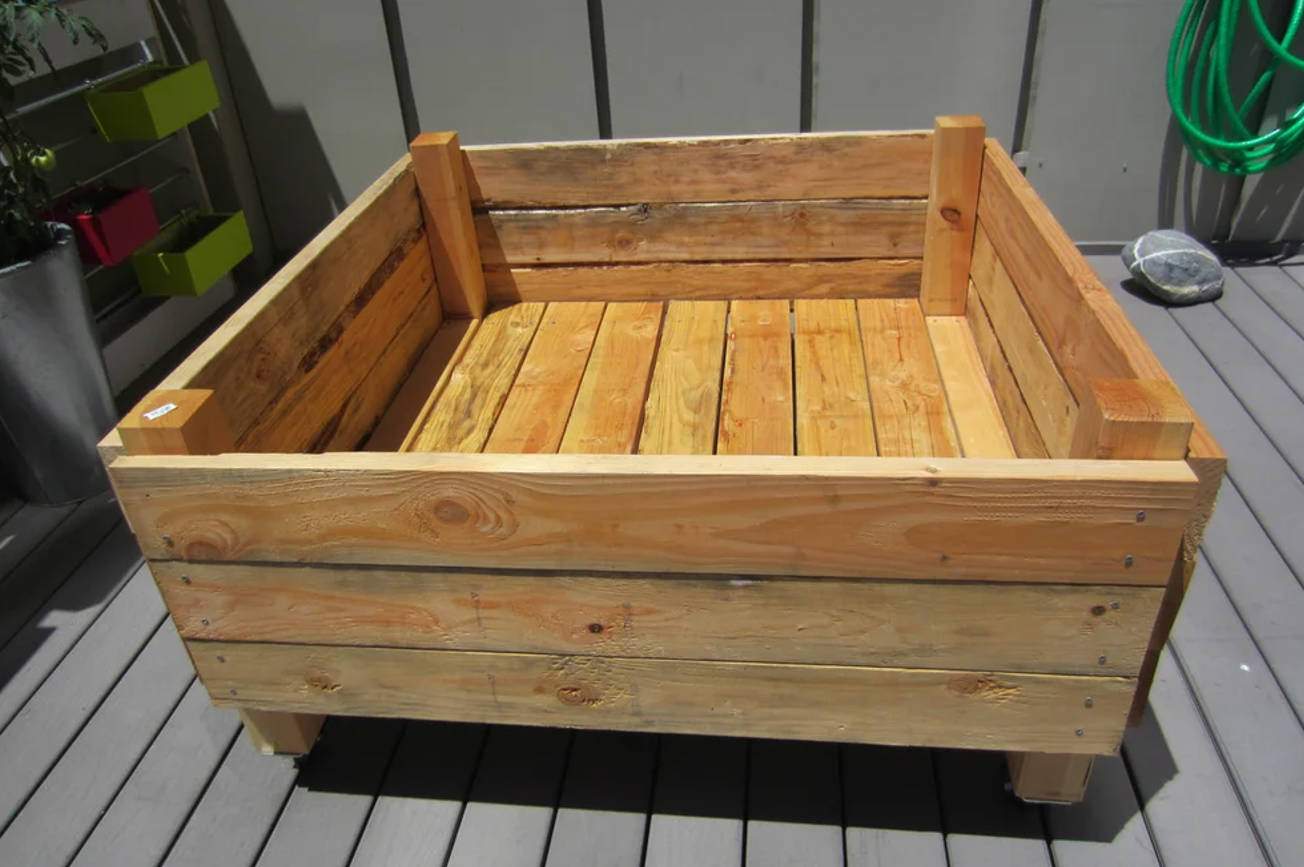
Step 11: Finish the Sides

With the casters secured, continue attaching the remaining 2x6s around the frame until the bed reaches your desired height. For the 18” version, use a total of 21 boards; for the 30” version, use 29 boards.
Other Details Display

- Material Choice: Douglas fir is an affordable alternative to cedar or redwood.
- Proper Drainage: Leave gaps between bottom boards to prevent waterlogging.
- Weight Consideration: Ensure casters are heavy-duty to support the full weight of the soil.
- Customizable Height: Adjust the number of 2x6s for different bed heights.
- Assembly Time: Can be completed in a single day with basic tools.
Summary
This 4’x4’ raised garden bed on casters is the perfect solution for small-space gardening, offering mobility, durability, and customizability. Whether you opt for the 18” or 30” height, this DIY project is simple, budget-friendly, and built to last. Happy gardening!
This plan is a contribution by [Few Bits]. Project Via Instructables – Get the PDF Instructions here.