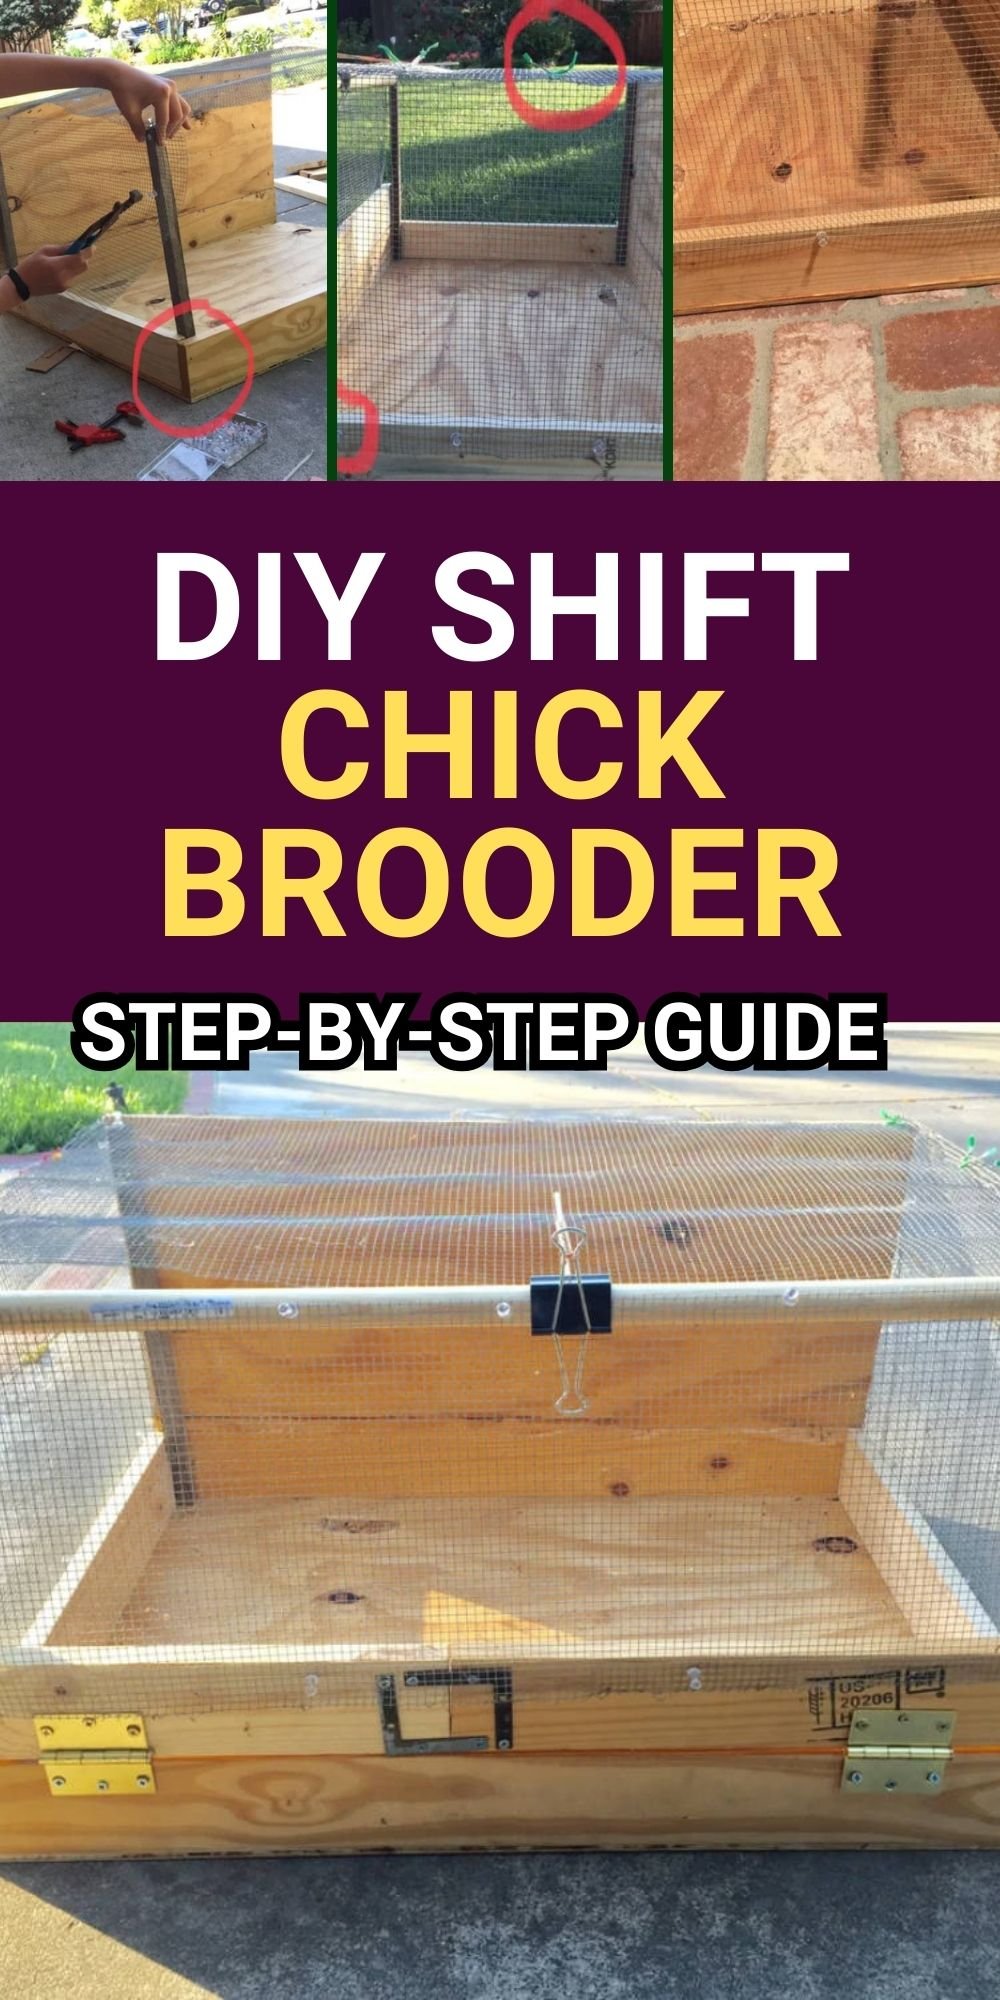

Raising chicks requires a safe and comfortable brooder, and we built one using miscellaneous items found around our home. This DIY chick brooder is sturdy, easy to clean, and provides ample space for young chicks to grow. Follow along as we share how to build this brooder step by step, ensuring your chicks have the best start in life.
Why This Plan Works
- Cost-Effective: Uses readily available materials, reducing costs.
- Spacious: Accommodates four chicks, a heating plate, feeders, and even a jungle gym.
- Customizable: Can be adjusted to fit more chicks or additional features.
- Easy to Clean: A plastic drop cloth lining makes cleaning a breeze.
- Secure & Ventilated: Hardware cloth walls and a lockable door keep chicks safe.
What You Will Need
- Plywood (1/4″ thick) – For the base and back wall.
- Wooden poles (3/4″ x 3/4″) – For supporting the hardware cloth walls.
- Wooden boards (3/4″ thick x 3 1/2″ wide) – For the bottom frames and door.
- Hardware cloth (1/4″ square holes) – For walls, door, and top cover.
- Wooden dowel (1″ diameter) – For the door lock.
- Push pins and small nails – For securing hardware cloth and wooden pieces.
- Grocery bag ties – For attaching the side walls to the top cover.
- Hinges – For the door.
- Hardware cloth cutters, hammer, and glue – For assembly.
How to Make
Step 1: Preparing Materials
- Cut a 24″ x 33″ plywood piece for the floor.
- Cut three 3/4″ thick x 3 1/2″ wide x 33″ long boards for the floor base.
- Cut two 3/4″ thick x 3 1/2″ wide x 33″ long boards for the bottom of the door.
- Cut a 33″ x 14″ plywood for the back wall.
- Cut four 3/4″ x 3/4″ wooden poles, each 17″ long, for vertical supports.
- Cut a 1″ diameter wooden dowel to 29 1/2″ for the door handle.
- Cut two 22″ x 16″ hardware cloth pieces for the side walls.
- Cut a 33″ x 32″ hardware cloth piece for the top cover.
- Cut a 12″ x 33″ hardware cloth piece for the door panel.
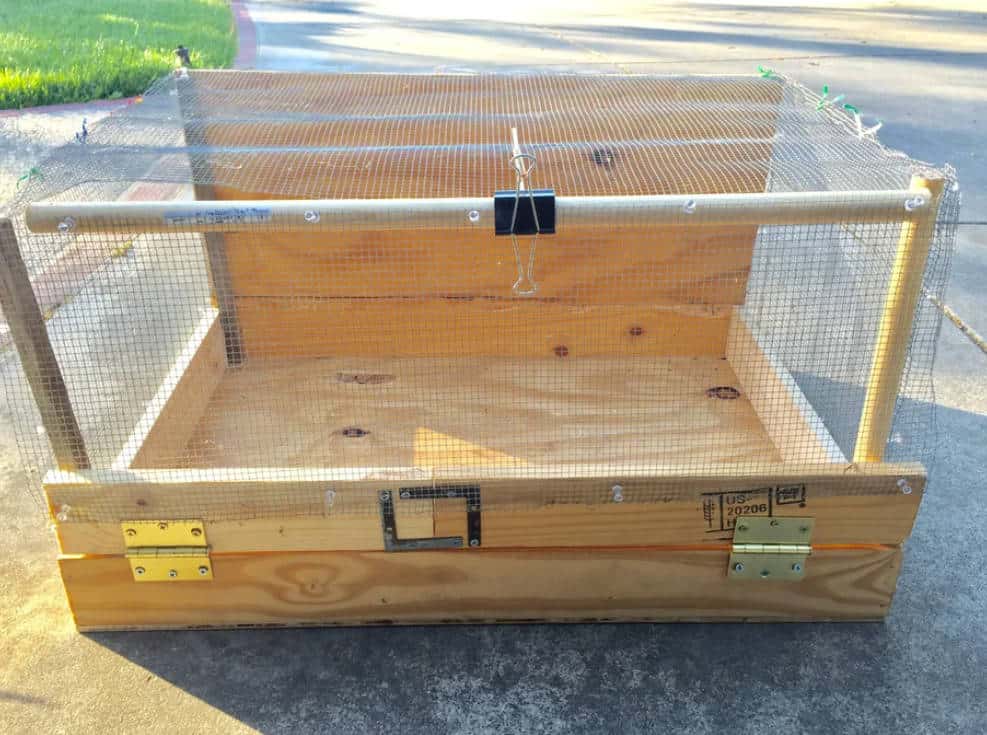
Step 2: Attach the Vertical Corner Posts to the Base

- Secure the 3/4″ x 3/4″ wooden poles at each corner of the plywood base using small nails and a hammer.
Step 3: Add the Base Boards to the Plywood Base

- Glue each of the four base boards to the plywood base.
- Once dry, nail the four corners together for additional strength.
Step 4: Add the Back Wall

- Attach the 33″ x 14″ plywood back wall to two wooden corner posts using nails.
- If you prefer, you can replace the plywood with hardware cloth for more ventilation.
Step 5: Assemble the Door

- Attach a 33″ long wooden board to the front of the brooder with hinges to create the door frame.
- Secure the 12″ x 33″ hardware cloth to the door frame using push pins.
- Attach the 29 1/2″ wooden dowel to the top of the door panel using push pins.
- Ensure the door opens and closes smoothly.
Step 6: Add Side Walls and Top Cover

- Use push pins to attach the 22″ x 16″ hardware cloth pieces to the wooden corner posts for the side walls.
- Secure the 33″ x 32″ hardware cloth as the top cover using grocery bag ties.
Step 7: Build a Lock for the Door

- Clip a large binder clip onto the door’s dowel.
- Insert a chopstick (or similar stick) through two holes in the top cover.
- Loop a large rubber band through the binder clip handle and attach it to the chopstick.
- To open the door, simply remove the rubber band from the chopstick and fold the door down.
Note: Once fully assembled, line the inside with a plastic drop cloth before adding bedding. This makes cleaning much easier and keeps the brooder in good condition.
Other Details Display

- Handles: Four 3″ nails placed at strategic points for easy transport.
- Heating Element: Ensure there is space for a heating plate.
- Feeding Area: Two small cups attached to a wooden base work well as makeshift feeders.
- Enrichment: A homemade jungle gym can be added for chick entertainment.
Summary
This DIY chick brooder is an easy and cost-effective way to provide a safe, warm, and spacious home for young chicks. Built with common household materials, it ensures proper ventilation, security, and easy cleaning. Whether you are raising a few chicks or more, this brooder design can be customized to fit your needs.
This plan is a contribution by [petitcoquin]. Project Via Instructables – Get the PDF Instructions here.